HANDCRAFTED HISTORY


Leave a comment

The Medieval Wedding Dress- the velvet gown

This is the final layer I made for my wedding outfit, it is a silk velvet dress inspired by the late 15th century over dresses. The gown is open at the front to allow for easy undressing, and to show more of the white dress underneath. This can be seen in paintings, though a closed gown would have been more common.

This was one of the most difficult garments I have ever made. The fabric is a silk velvet, sensitive, very thin and extremely flimsy; I so understand why silk velvet has been replaced by synthetic alternatives on the market (and it is not just a matter of price). The gown is fully lined with silk dupioni for support and look, and has linings in black silk taffeta and on the bottom, the same black high quality wool as in my love’s joined hose. I opted for the golden coloured silk because it did so well under the velvet, and made the velvet shine even more. if using a transparent velvet; try out different shades of lining fabric to find the one that gives you the look you want.

The gown closes with a small hook and eye at the waist, and then this belt is added. The bronze buckle and strap end is made after a painting from the period, and can be seen on houppelandes and similar overdresses from the period.

Working with the fabric. Here you can see the silk lining being laid out at the velvet to act as a pattern piece. The velvet was very sensitive, so pinning was only an option in seam allowances.

The fabric being so thin and flimsy, pinning it to the sturdier silk lining was a good help for cutting, basting and sewing. I treated the two layers as if they were one when sewing, making the seam allowances visible on the inside of the dress. Since the velvet is transparent where the pattern is, it was not an option to have the seams between the both fabric layers.

Front and back pieces of the body being laid out. With a patterned fabric, you might want to consider where to put your pieces, and in what direction. I let the two front pieces have the pattern laid out in the same direction, and then turned the back piece upside down, since the skirt would have the pattern visible in the same direction at the back of the gown. The two fronts doesn’t have to be similar in pattern, all contemporary art depicts uneven patterns on the front of dresses.

You may also note that the front lining pieces have the selvage running along the openings, since the velvet was stretchy, and silk stretch when cut on bias, I laid the pieces out diagonally on the silk fabric to have a non stretchy front, and instead add some flexibility across the body. This way, there is some small movement allowed over the rib cage, while the front lays flat against the body.

I sewed the gown together on the overlock machine, this was one of my best choices ever since the seam both helped with protecting the seam allowance and allowed for some stretchiness in the skirt. After the gown was put together, I hang it on my doll to let the skirts fall out. Fabric cut circular like in this case always seems to hang out unevenly…

And yes it did! I ended up cutting away between 10-15 cm in some places, but only 2 in the areas running along the fabric length. I was quite nervous- cutting a little each time and allowing for the fabric to adjust. There was some massive pinning and measuring and swearing going on at this part and frankly, I just forgot to take pictures because I was so frustrated. Here you can see the velvet skirts hanging out, the silk lining behaving all nicely and staying in shape.

After this, I worked with the hems and inside seams by hand. All the seam allowances were folded down, basted to the lining and then covered by a strip of silk fabric, whip stitched down. No ironing though; velvet does not go along with pressing so the seams were just smoothed out by hand. The front opening and the sleeves were lined with black silk taffeta, the same as love’s doublet were edged with.

The bottom needed a little more heavy lining, and I wanted something that could take some more wear than silk so I chose a thin wool tabby weave. Here it is, laying on the floor.

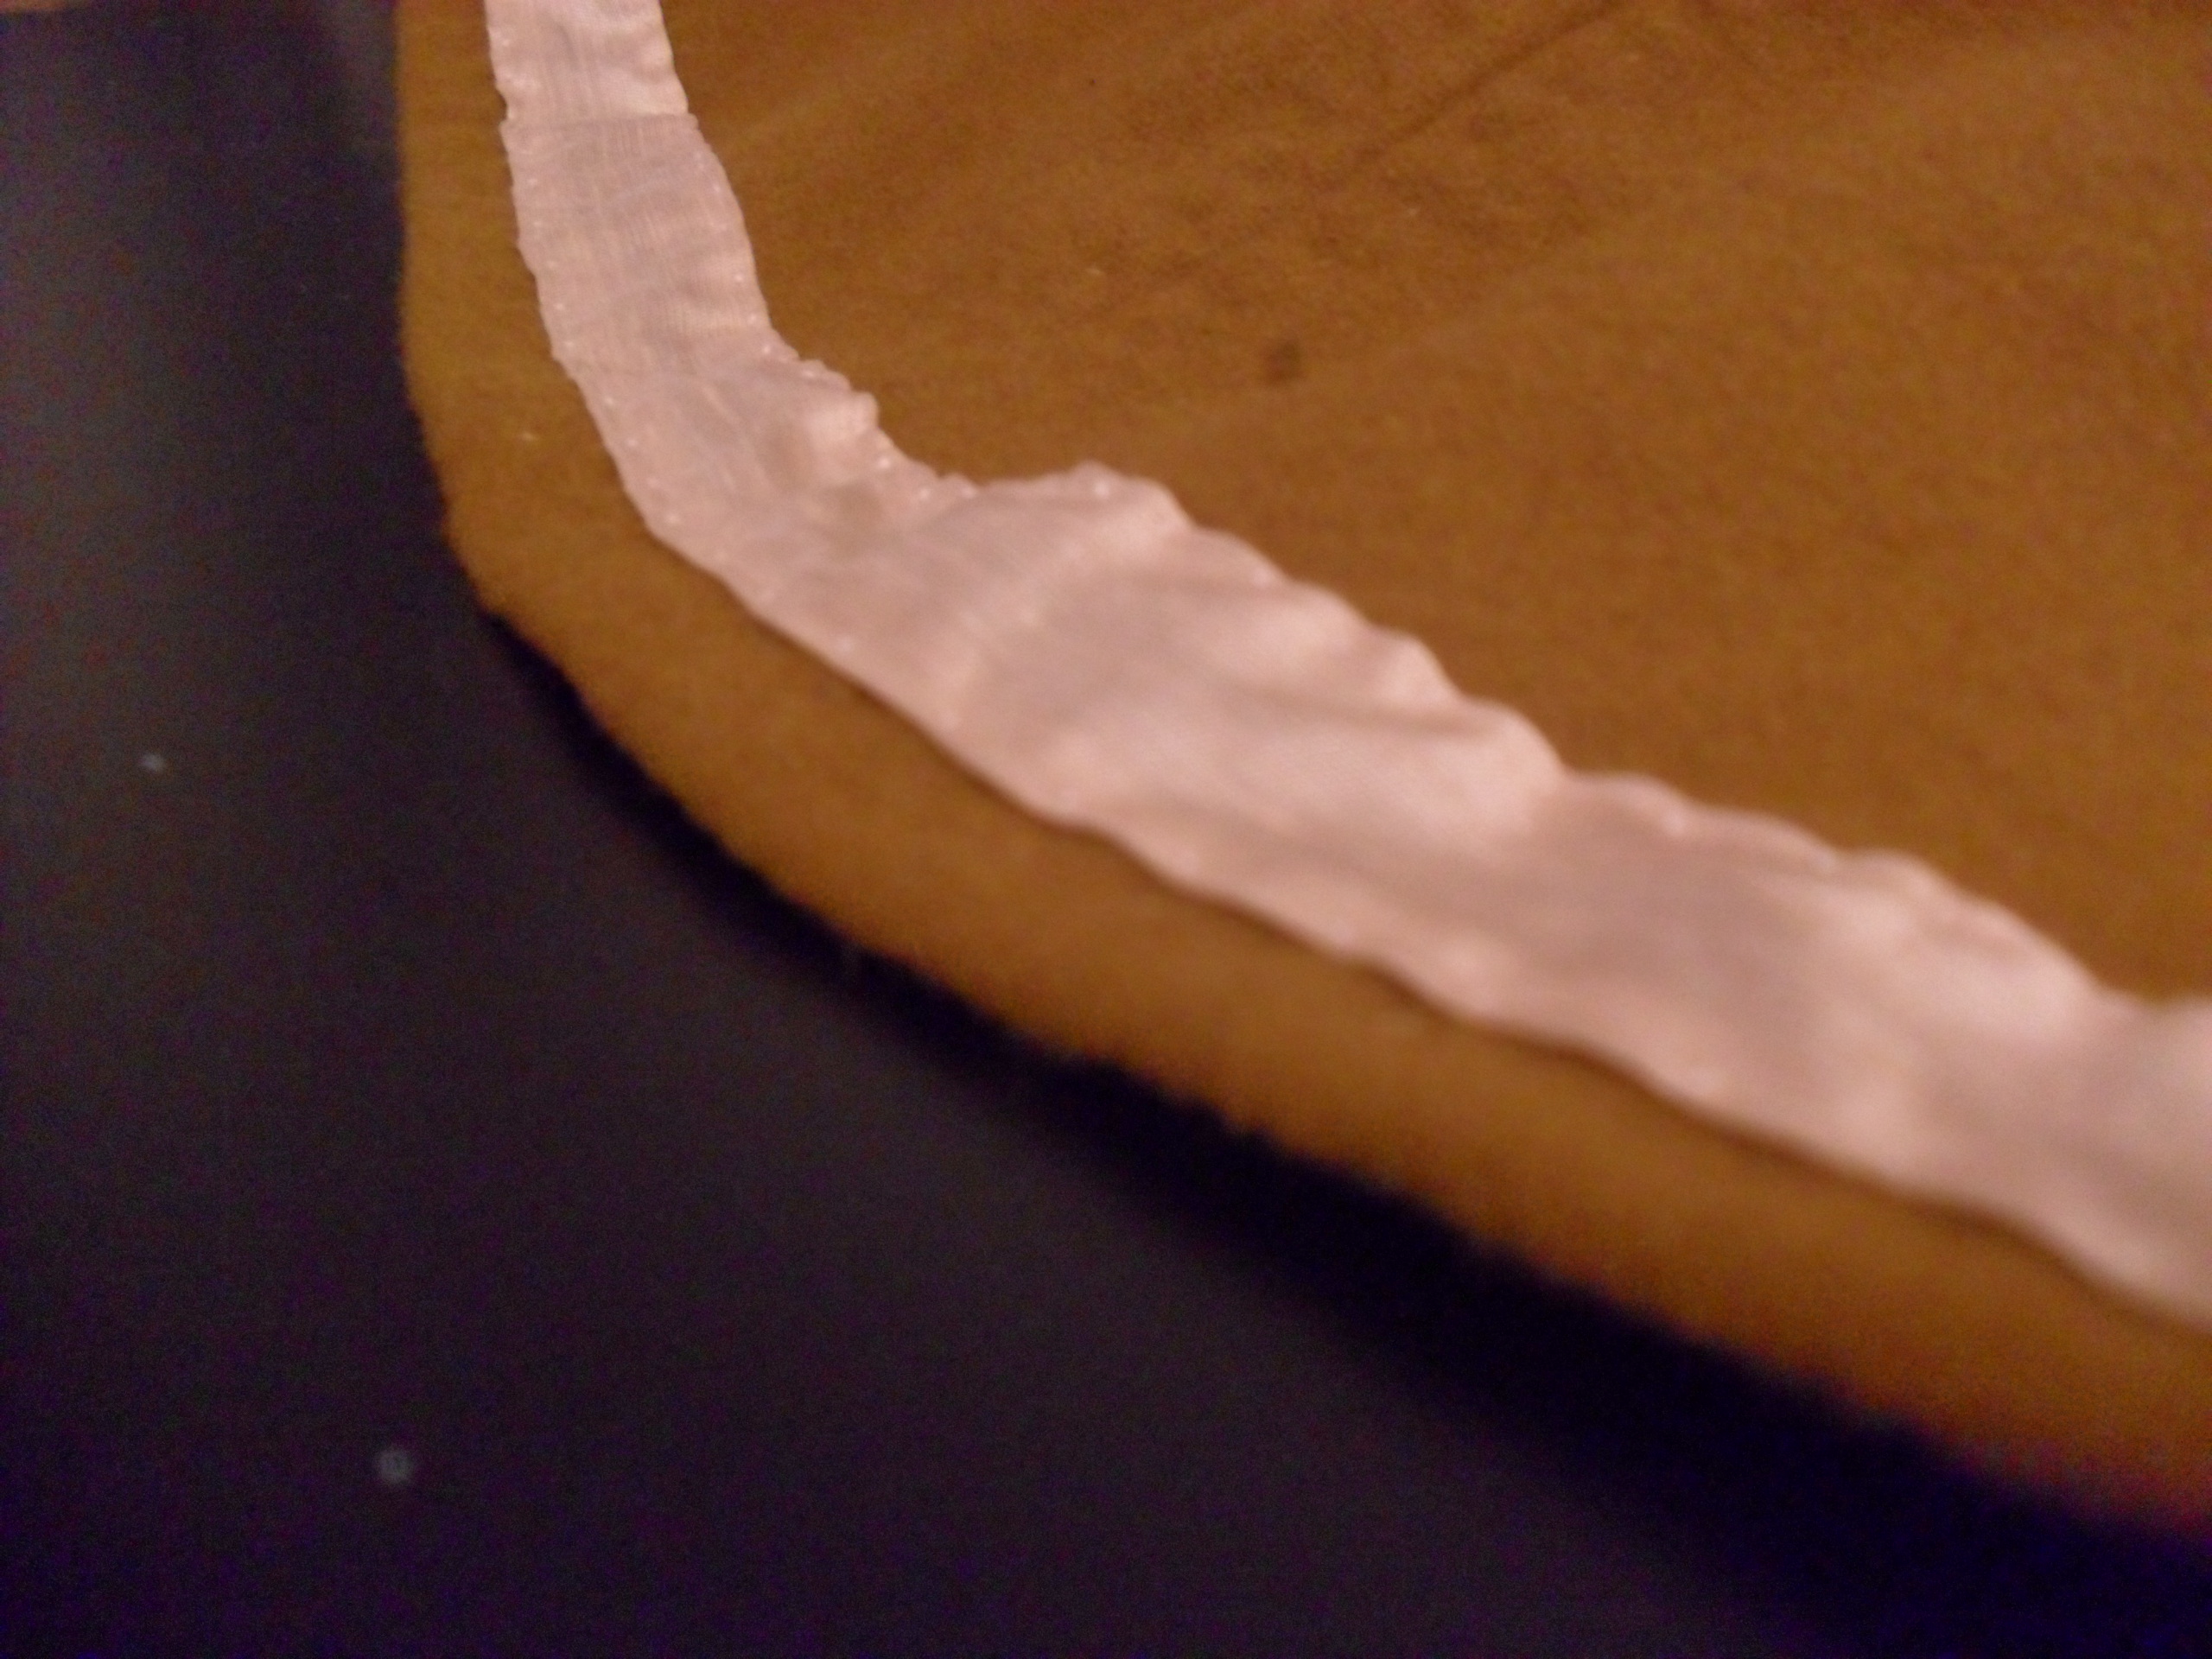
One of the seams, seen from the outside when finished of. The whip stitches securing the strip inside is not visible on the outside velvet, neither is the machine seam that holds it together.

I am very pleased with the dress, I really plan on using it in the future on events. It was not easy to make, but hopefully some of my experience shared with you will make you want to try one for yourself if you wish!


2 Comments

Slashing and cutting fabric- a tutorial

During the 16th century it became high fashion to slash or cut fabrics in a decorative manner, and this was taken up by mercenary landsknechts and women working and living in the armies as well. Being a fashion for richer or high-born persons, it was quite the dare for mercenaries to wear, but such a good way to show that you were a high earner with lots of status and gold on your pocket…

IMG_1436

So, I wanted to share with you all my best tips for getting that slashed and cut look that you may want for your outfit!

IMG_1438

But first, some good things to know:

  • The most important thing is the material to work with; wool is by far the easiest. In finds and manuscripts, you will also find garments made by silk or silk/linen and silk/wool blends, but those garments will have very small cuts (also called pinking) made with a specific tool and is a whole different story. So; chose a wool fabric. A felted, dense and tightly weaved wool is the best, this will give you a sturdy garment that won’t fray easily.
  • The slashing is not hemmed. I know many people do this because they chose a sensitive fabric, they are afraid it will fray and tear, or they have just been told that all raw edges should be hemmed or sewn. The standard is to not hem or sew the slashes, they should be raw, made with a very sharp tool, and yes- they might wear out faster than a garment that is not slashed. There are garments made with other techniques, for examples doublets with sleeves that are being made out of strips of lined/hemmed fabrics. These might look similar to cut garments, but the making is different.
  • Slashed and cut garments may not last as long as more sensible ones, or look very pretty after using for a while, that is the point with this fashion! You’ll have to be rich enough to order fine materials, pay a tailor to sew it for you, pay even more for the slashing and cutting, and then don’t mind that you will have to exchange the garment once it looks worn. If you are a more economically laid modern person, pick a wool fabric for your outfit, since this lasts longer than silk or linen.
  • Almost all slashed garments that I have seen have been lined with a second layer of unslashed fabric. This could be a regular lining or a whole garment that holds together the one laying over, providing stability and fit. I often use a linen fabric lining for wool and silk fabrics, but in the case with slashed guards (strips of fabrics) I place the guards on top of the main fabric, to make it visible through the slashing.

Feeling ready for some slashing now?

IMG_1538

The pictures are mostly from my trossfrau dress project, this from a woodcut that I have copied and coloured to get a feeling for the dress to be.

I usually wash my wool fabrics, iron them and then cut out the pieces I want for the garment. Before I sew them together I draw out my slashes on the wrong side with a fabric marker and then cut them before I put the garment together. If you are not sure about the fitting, it is good to baste the garment together and try it on before this, since it is difficult to adjust fitting after the slashing is made.

20150505_193058

I usually also draw out helplines during this stage; everything that helps you make good sharp lines placed exactly where you want them is good. A ruler, some mathematics and a marker go a long way. I also like to make a template to use while drawing out the slashes.

IMG_1433

Do not slash all the way to the edges, remember the seam allowance and leave 2-3 cm along the edges to make it easier to sew the pieces together.

IMG_1990 (2)

This is a larping outfit (only inspired by historical fashion) as an example of a durable slashed garment. The arms have slashes, but not the armpits or body, and the slashes ends some cm before the seams. Sewn in a medium-heavy twill, slightly felted.

If you want the garment to be sturdy and hold together, slash less along the armpits, side seams and crotch; all areas where the fabric gets more wear. If you look at historical woodcuts and painting, you may notice that tight fitted pants have no slashes at the backside of the legs near the seams, neither over the butt (there might be exceptions, as always)

11879095_10153482270739892_682932696704880751_o

The finished dress, a hot day in Visby a couple of years ago


2 Comments

Making a better Apron dress

This blog post contains a collaboration advertisement for sewing machine guides from Sewingland.

I thought I would share my best tips and tricks for making good apron dresses, since I have made a whole bunch of them by now, and probably most of the mistakes too. If this is your first try at an apron dress, check out my tutorials Easy apron Dress or Fitted apron dress first. At the end of my post, you’ll find a link to useful sewing machine guides if you would like to make your dress on a sewing machine.

Nr 1. Use enough fabric. I know it’s tempting to save on the fabric, but trust me. Too short and tight a dress will look like a modern dress. I use around 2 m *1,5 m to mine, and if you are larger/longer than me, you need a bit more.

Nr 2. Use a thin enough fabric. Save the sturdy, felted wool fabrics for a coat or a cape and chose a thin, rather loosely woven fabric. It should be comfortable and have a nice fall, try to drape it over a piece of furniture, like a table, and look how the folds drape.

Nr 3. Try it on while sewing with all your other layers of clothing, to make sure you will have enough room under the apron dress for a shift and a possible warmer dress if you think you will be needing that.

Nr 4. Don’t make the straps too long. I think it looks very strange when women are wearing their dresses in the middle of their bust, or even under their nipple area. Please don’t. When you fasten tortoise brooches, you can pin them through your strap, or make a knot at the end of a strap being a bit too long.

Nr 5. If you don’t have tortoise brooches to fasten your dress with, don’t use modern buttons or fastenings in the meantime. I have learned that apron dresses were not a thing without brooches, like the dress is an accessory to the jewellery and not the other way around. You don’t have to wear apron dresses for reenacting a viking woman, a simple long kirtle will do. So skip the apron dress if you don’t own the brooches, or sew the straps directly to the dress itself if you are momentary without them.

Nr 6. The thin fabric could be lined with a strip of linen or wool to protect the hem and support the top.

Nr 7. You may sew on a piece of tablet-woven band or a thin silk strip around the upper part of the dress, to make it durable, enhance the fitting and also, for decoration. Another way to decorate the dress is to sew a small wool braid to the top.

Nr 8. Decorating your dress doesn’t have to be expensive. Use thin strips of patterned silks, tablet woven bands, viking silver posaments, or just a braided cord. On the small figurines, it seems like there is decoration around the hem of the dress, and in grave finds there are remnants of silk and decorations around the upper part, partly inside the tortoise brooches. Save money and time and decorate only the upper part of the dress, or do the whole thing!

Nr 9. Use the same type of thread as the decoration you want to sew to your dress. Silk thread for silk fabrics, wool thread for woven bands, and a very thin and fine silk thread for posaments. This will give you a nice seam, that is as little visible as possible, and doesn’t damage the decorations.

Nr 10. To protect your dress from everyday stains; use a belt to fasten up your dress while working, this will protect the hem from mud, open fire and stains. Also, an apron is a very good choice for protecting your clothes. Or remove the apron dress and work in your shift or woollen dress. It seems the apron dress was a status symbol and finer wear, so it is probable that women didn’t wear them while labouring.

Follow this link to more help on sewing machines: http://sewingland.org/best-sewing-machine-for-cosplay/

Spara

Spara


Leave a comment

The easy apron dress

This apron dress is really simple and easy to sew together- perfect if you want to save fabric, try to hand stitch your first garment, or just want to try out a looser fit on an apron dress.

The description is based on the fact that you have a fabric that is approximately 150 cm wide, and the dress in the picture is about 130 cm long. If your fabric width is different, you will have to redraw the pattern pieces and probably piece the dress together with more gores. I show you a way to make the skirt fuller with a small gore on the drawing below. The method can be used for larger gores also. B = back of the dress, F = front.
Customize the measurements according to your own measurements. The amount of fabric you need depends on your measurements + how long you want the dress to be. On the pattern diagram, 1 square = 10 cm, so it takes 2.2m of fabric to make the dress to my measurements. Draw a separate paper sketch before you begin so you will understand how the pieces are laid out!
This description is mostly about the pattern-making assembly. If you want to know more about seams and techniques, check out my other descriptions and tips on the blog.

Start with calculating your measurements, and draw the pattern on paper. The dress consists of an entire front piece (F), and a two-piece back piece (B) that is laid out on the folded fabric. To get some extra fullness in the dress hem you can cut it according to the suggestion in the picture (the back piece is then cut in the bottom with a small gore).

Measure around the bust/widest part of your upper body = the measurements on the narrowest part of the dress: split the measure in two to make the front and back. Remember to add seam allowance; 1-2 cm on each side. The measures on the pattern are approximately 90 cm to fit me (40 cm on the front and 50 cm on the back piece). Because the dress does not start in the middle of the bust, but a bit above, you get enough space to move and dress/undress easily even if the measure is a little less than your widest circumference (I have 93 cm over my bust).

The length of the dress; measure from the armpit and as far down as you want the dress to go. Add seam allowance of about 4 cm. In the picture, the pieces are 130 cm long. The width of the dress hem becomes 2 * the total width of the fabric so 2 * 150 = 300 cm.

Once you have cut out your pieces; sew the back piece in the middle, then sew on gores if you made any. Bast the front and back together and try; cut out a little for the armpit if you want, and mark with pins where your straps should be attached (I usually like to wear them in the same position where I have my bra straps, I guess my shoulders are used to that.)

Sew the sides together, press and fold the seams, whip stitch them down to one side, and finish the hems by folding them once (on a thicker fabric) or twice (on a more lightweight fabric) and whipstitch them. Finish with sewing on thin fabric straps (I usually fold mine twice towards each other, whip stitch them together and then sew them on the garment. Then you are finished!

I really recommend buying a lightweight, more loosely woven fabric for this dress. Sturdier wools will not fall as nice and might feel like you are moving around inside a tent-like garment…

Spara

Spara

Spara

Spara

Spara


1 Comment

New tutorials/booklets

Finally!

I’ve been working on this new booklets for months now, and now they are finally done and ready to send out. I know that many of you readers have asked me about new tutorials, preferably in English, but the truth is that tutorials takes a lot of time to make. I’m counting on around 8 h/tutorial and that doesn’t include the time it takes to handcraft the actual things. As you can imagine it’s quite impossible for me to continue to make a lot of tutorials for free, though there will be some new ones at the blog this year.

If you like the tutorials page and want to support it, or if you want to learn more about sewing, I can offer these new booklets as a way of doing that. They have basically the same structure as my online tutorials, but are even more hands-on and easy-following with text, pictures and useful tips. I include both instructions for hand sewing and machine sewing in each one, and you don’t need any previous sewing experience. They also include patterns in full size and a list of what you need for each project.

I’ll put them here, but you can also buy them on my facebook page or at my Etsy shop (for shipments outside Sweden).

Prices: 5 E/piece + 2 E shipping (so for two 5+5+2 E and so on) Sv: 50 kr + 15 kr frakt inom Sverige.

Spara

Spara