HANDCRAFTED HISTORY


2 Comments

Making a better Apron dress

This blog post contains a collaboration advertisement for sewing machine guides from Sewingland.

I thought I would share my best tips and tricks for making good apron dresses, since I have made a whole bunch of them by now, and probably most of the mistakes too. If this is your first try at an apron dress, check out my tutorials Easy apron Dress or Fitted apron dress first. At the end of my post, you’ll find a link to useful sewing machine guides if you would like to make your dress on a sewing machine.

Nr 1. Use enough fabric. I know it’s tempting to save on the fabric, but trust me. Too short and tight a dress will look like a modern dress. I use around 2 m *1,5 m to mine, and if you are larger/longer than me, you need a bit more.

Nr 2. Use a thin enough fabric. Save the sturdy, felted wool fabrics for a coat or a cape and chose a thin, rather loosely woven fabric. It should be comfortable and have a nice fall, try to drape it over a piece of furniture, like a table, and look how the folds drape.

Nr 3. Try it on while sewing with all your other layers of clothing, to make sure you will have enough room under the apron dress for a shift and a possible warmer dress if you think you will be needing that.

Nr 4. Don’t make the straps too long. I think it looks very strange when women are wearing their dresses in the middle of their bust, or even under their nipple area. Please don’t. When you fasten tortoise brooches, you can pin them through your strap, or make a knot at the end of a strap being a bit too long.

Nr 5. If you don’t have tortoise brooches to fasten your dress with, don’t use modern buttons or fastenings in the meantime. I have learned that apron dresses were not a thing without brooches, like the dress is an accessory to the jewellery and not the other way around. You don’t have to wear apron dresses for reenacting a viking woman, a simple long kirtle will do. So skip the apron dress if you don’t own the brooches, or sew the straps directly to the dress itself if you are momentary without them.

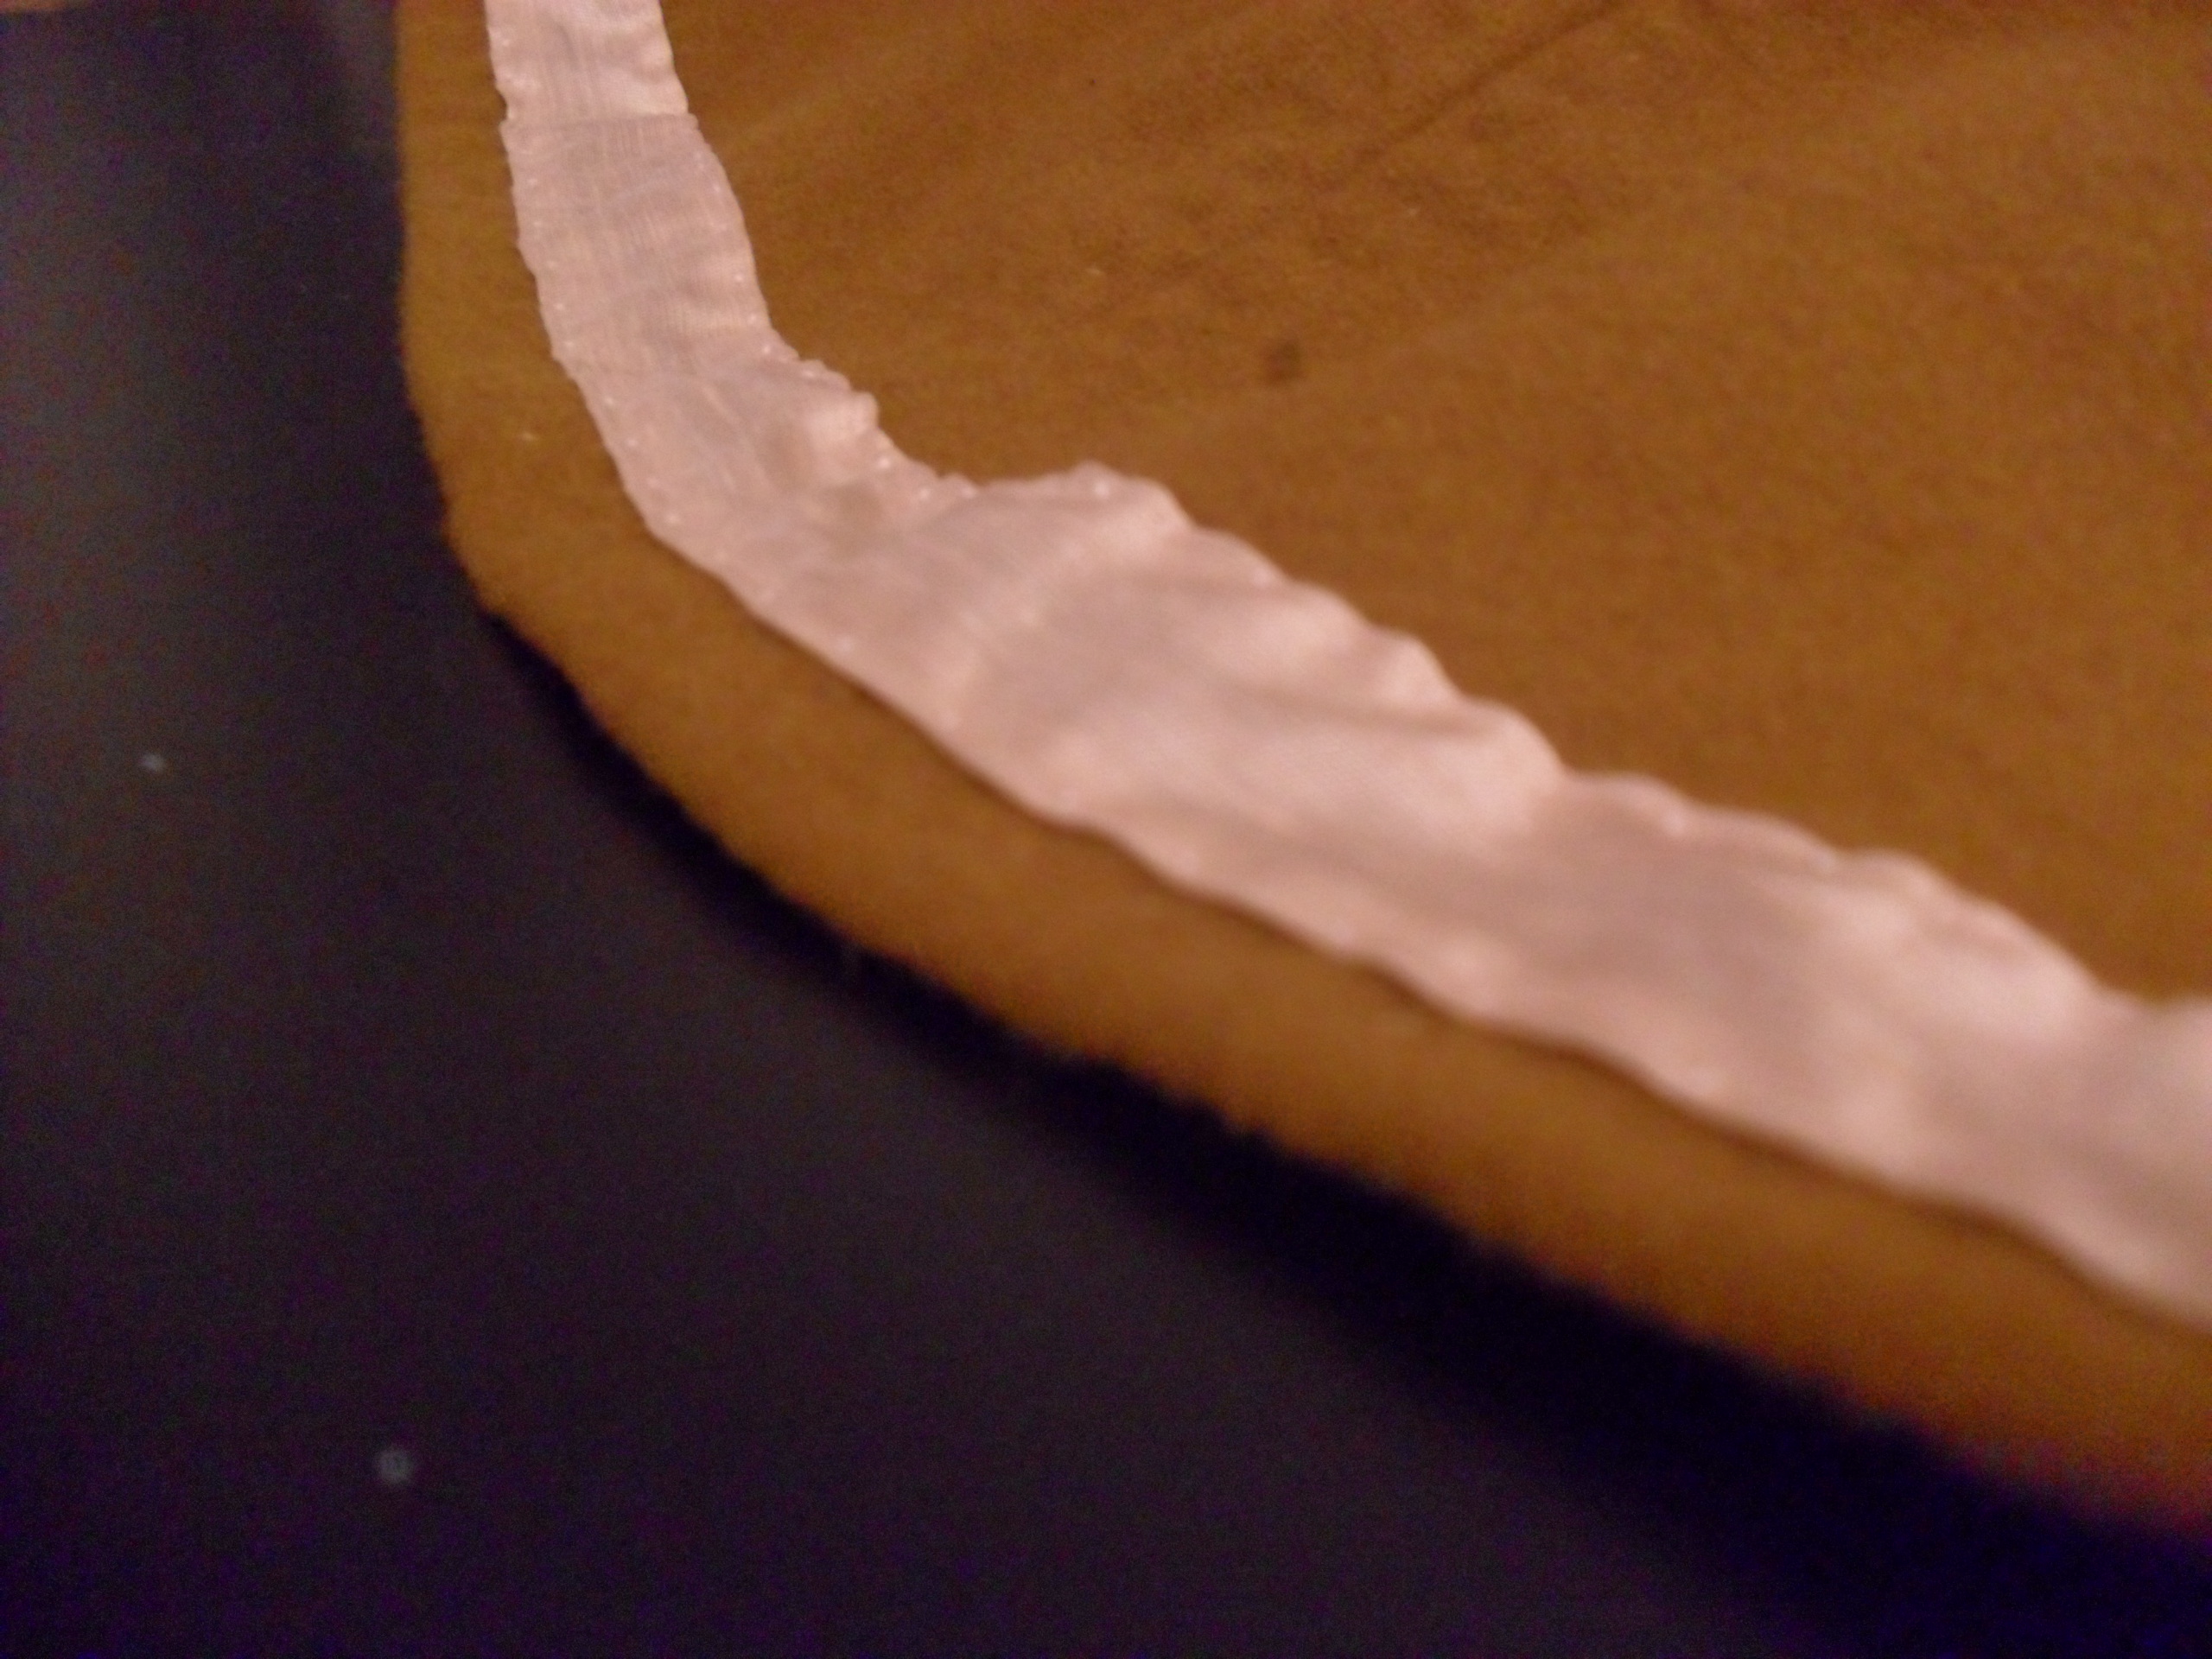
Nr 6. The thin fabric could be lined with a strip of linen or wool to protect the hem and support the top.

Nr 7. You may sew on a piece of tablet-woven band or a thin silk strip around the upper part of the dress, to make it durable, enhance the fitting and also, for decoration. Another way to decorate the dress is to sew a small wool braid to the top.

Nr 8. Decorating your dress doesn’t have to be expensive. Use thin strips of patterned silks, tablet woven bands, viking silver posaments, or just a braided cord. On the small figurines, it seems like there is decoration around the hem of the dress, and in grave finds there are remnants of silk and decorations around the upper part, partly inside the tortoise brooches. Save money and time and decorate only the upper part of the dress, or do the whole thing!

Nr 9. Use the same type of thread as the decoration you want to sew to your dress. Silk thread for silk fabrics, wool thread for woven bands, and a very thin and fine silk thread for posaments. This will give you a nice seam, that is as little visible as possible, and doesn’t damage the decorations.

Nr 10. To protect your dress from everyday stains; use a belt to fasten up your dress while working, this will protect the hem from mud, open fire and stains. Also, an apron is a very good choice for protecting your clothes. Or remove the apron dress and work in your shift or woollen dress. It seems the apron dress was a status symbol and finer wear, so it is probable that women didn’t wear them while labouring.

Follow this link to more help on sewing machines: http://sewingland.org/best-sewing-machine-for-cosplay/

Spara

Spara


Leave a comment

Enkel hängselkjol

Åh, äntligen en ny tutorial! Efter att tredje vännen frågat hur jag gjort min nya hängselkjol (som inte är så ny längre, den är nästan två år) så fick jag äntligen energi till att göra den här beskrivningen. Konstruktionen är verkligen superenkel, bekväm och tygeffektiv. Perfekt till dig som vill spara tyg, sy för hand eller bara göra en lösare hängselkjol.

Beskrivningen bygger på att du har ett tyg som är ca 150 cm brett, och kjolen på bilden blir ca 130 cm lång. Anpassa måtten efter dina egna mått. Tygmängden som går åt beror på dina mått + hur lång kjol du vill ha. På bilden är 1 ruta = 10 cm, så det går alltså åt 2,2 m tyg till mina mått. Rita ut en egen skiss på rutat papper innan du börjar så kommer du förstå hur bitarna hänger ihop!

Den här beskrivningen utgår mest från den mönstertekniska hopsättningen- om du vill veta mer om sömmar och tekniker kan du kika på mina andra beskrivningar och sytips här på bloggen =)

Räkna först ut dina mått, och rita upp mönstret på rutat papper. Hängselkjolen består av ett helt framstycke, och ett tvådelat bakstycke som läggs ut lite omlott på dubbelvikt tyg. För att få lite extra vidd i kjolen så kan du skarva den enligt förslaget på bilden (bakstycket är alltså skarvat i nederkant med en liten kil).

Mått runt bysten/bredaste delen av bröstkorgen=måttet på kilens smalaste del: dela i två och fördela på bak och framstycke. Kom ihåg att lägga till sömsmån. På bilden är måttet ca 90 cm (40 cm på framstycket och 50 cm på bakstycket). Eftersom hängselkjolen inte börjar mitt på bysten, utan en bit ovanför, får du vidd nog till att röra dig och ta på/av kjolen enkelt.

Längd på kjolen; mät från armhålan och så långt ned du vill att kjolen ska gå. Lägg till sömsmån på ca 4 cm. På bilden är styckena 130 cm långa.

Kjolfållens vidd blir 2*tygets totala bredd så 2*150=300 cm.

När du har klippt ut dina bitar så kan du först skarva bakstycket mitt i, sedan sy på ev kilar i nederkanten. Tråckla ihop fram och bakstycket med varandra och prova; klipp ur lite för armhålan om du vill och markera var hängslen ska fästas.

Sy ihop sidorna, fäll sömmarna och fålla alla kanter. Avsluta med att sy på hängslen- klart!

Spara


3 Comments

Autumn with Årsunda Vikings

Autumn meeting at Årsunda with market, cooking over the fire, coffedrinking, chatting with old and new friends, party with lots of food, songs, bonfire in the night… What more could you wish for?

This last autumn we visited Årsunda vikings for a viking weekend. One of the best things with late autumn and early spring events is that it’s cold enough to actually wear all your layers of viking clothes. Which is both cozy and pretty! So this is a photo post with lots of viking inspiration for you – maybe to make some clothes of your own, or just dream away for the event season to begin?

me2

I call this my amber viking outfit. The garments are both new and old, mixed together for warmth and for the lovely colours.

matsandmaria

M/G and M (all my friends names start at the letter M?) in their warm outfits

malin

M in her newly made, hand stitched outfit.

maria2

M/G in her party outfit

camp3

The market area during the day, were both trading, games and good conversation happened all at once. The tents were put up during Friday dag and evening, and on Saturday the area was filled with people cooking breakfast, playing and talking. Magic!

arsunda4

By the camp fire. Crafting, writing new songs and eating some lunch. And coffee.
(No, coffee is not viking age, but it’s really good for keeping the mood up and making new friends)

arsunda

M and his very fancy beard. The tablet woven trim is made by the other M

camp

View of the market area from the house

ar3

Met some new friends =)

arsunda2

food-kopia

Fresh food waiting to be cooked, outside one of the tents.

camp6-kopia

And lots of nice camps!
These group also had some nice ceramics for sale. I really like this kind of markets were hanging out with old and new friends is the most important, and bringing your wares for sale is just a reason to be there…

Keep in touch- there will be more photos from Årsunda this spring. If you appear in a photo and doesn’t want to, or if you like a photo and would like to use it, send me a mail and we’ll work something up!

Spara

Spara

Spara