This is my journal notes and photos from a fun project from the 18th century.
Finally finished!
This gown took a really long time to finish! I have worked on it on and off for two years I think, while learning about 18th century tailoring technics and different models. I find it more fun to learn as I go along handcrafting, the problem is when you learn too much too fast, realise your mistakes, and have to start over.
Fluffy, yet elegant?
I finally landed in some kind of Italian style gown, based on 1770-1780s fashion plates. The gown is made in silk taffeta and the skirt in silk satin- (Also based on fashion plates but made in 2019 when I was on my first 18th-century inspired ball. )
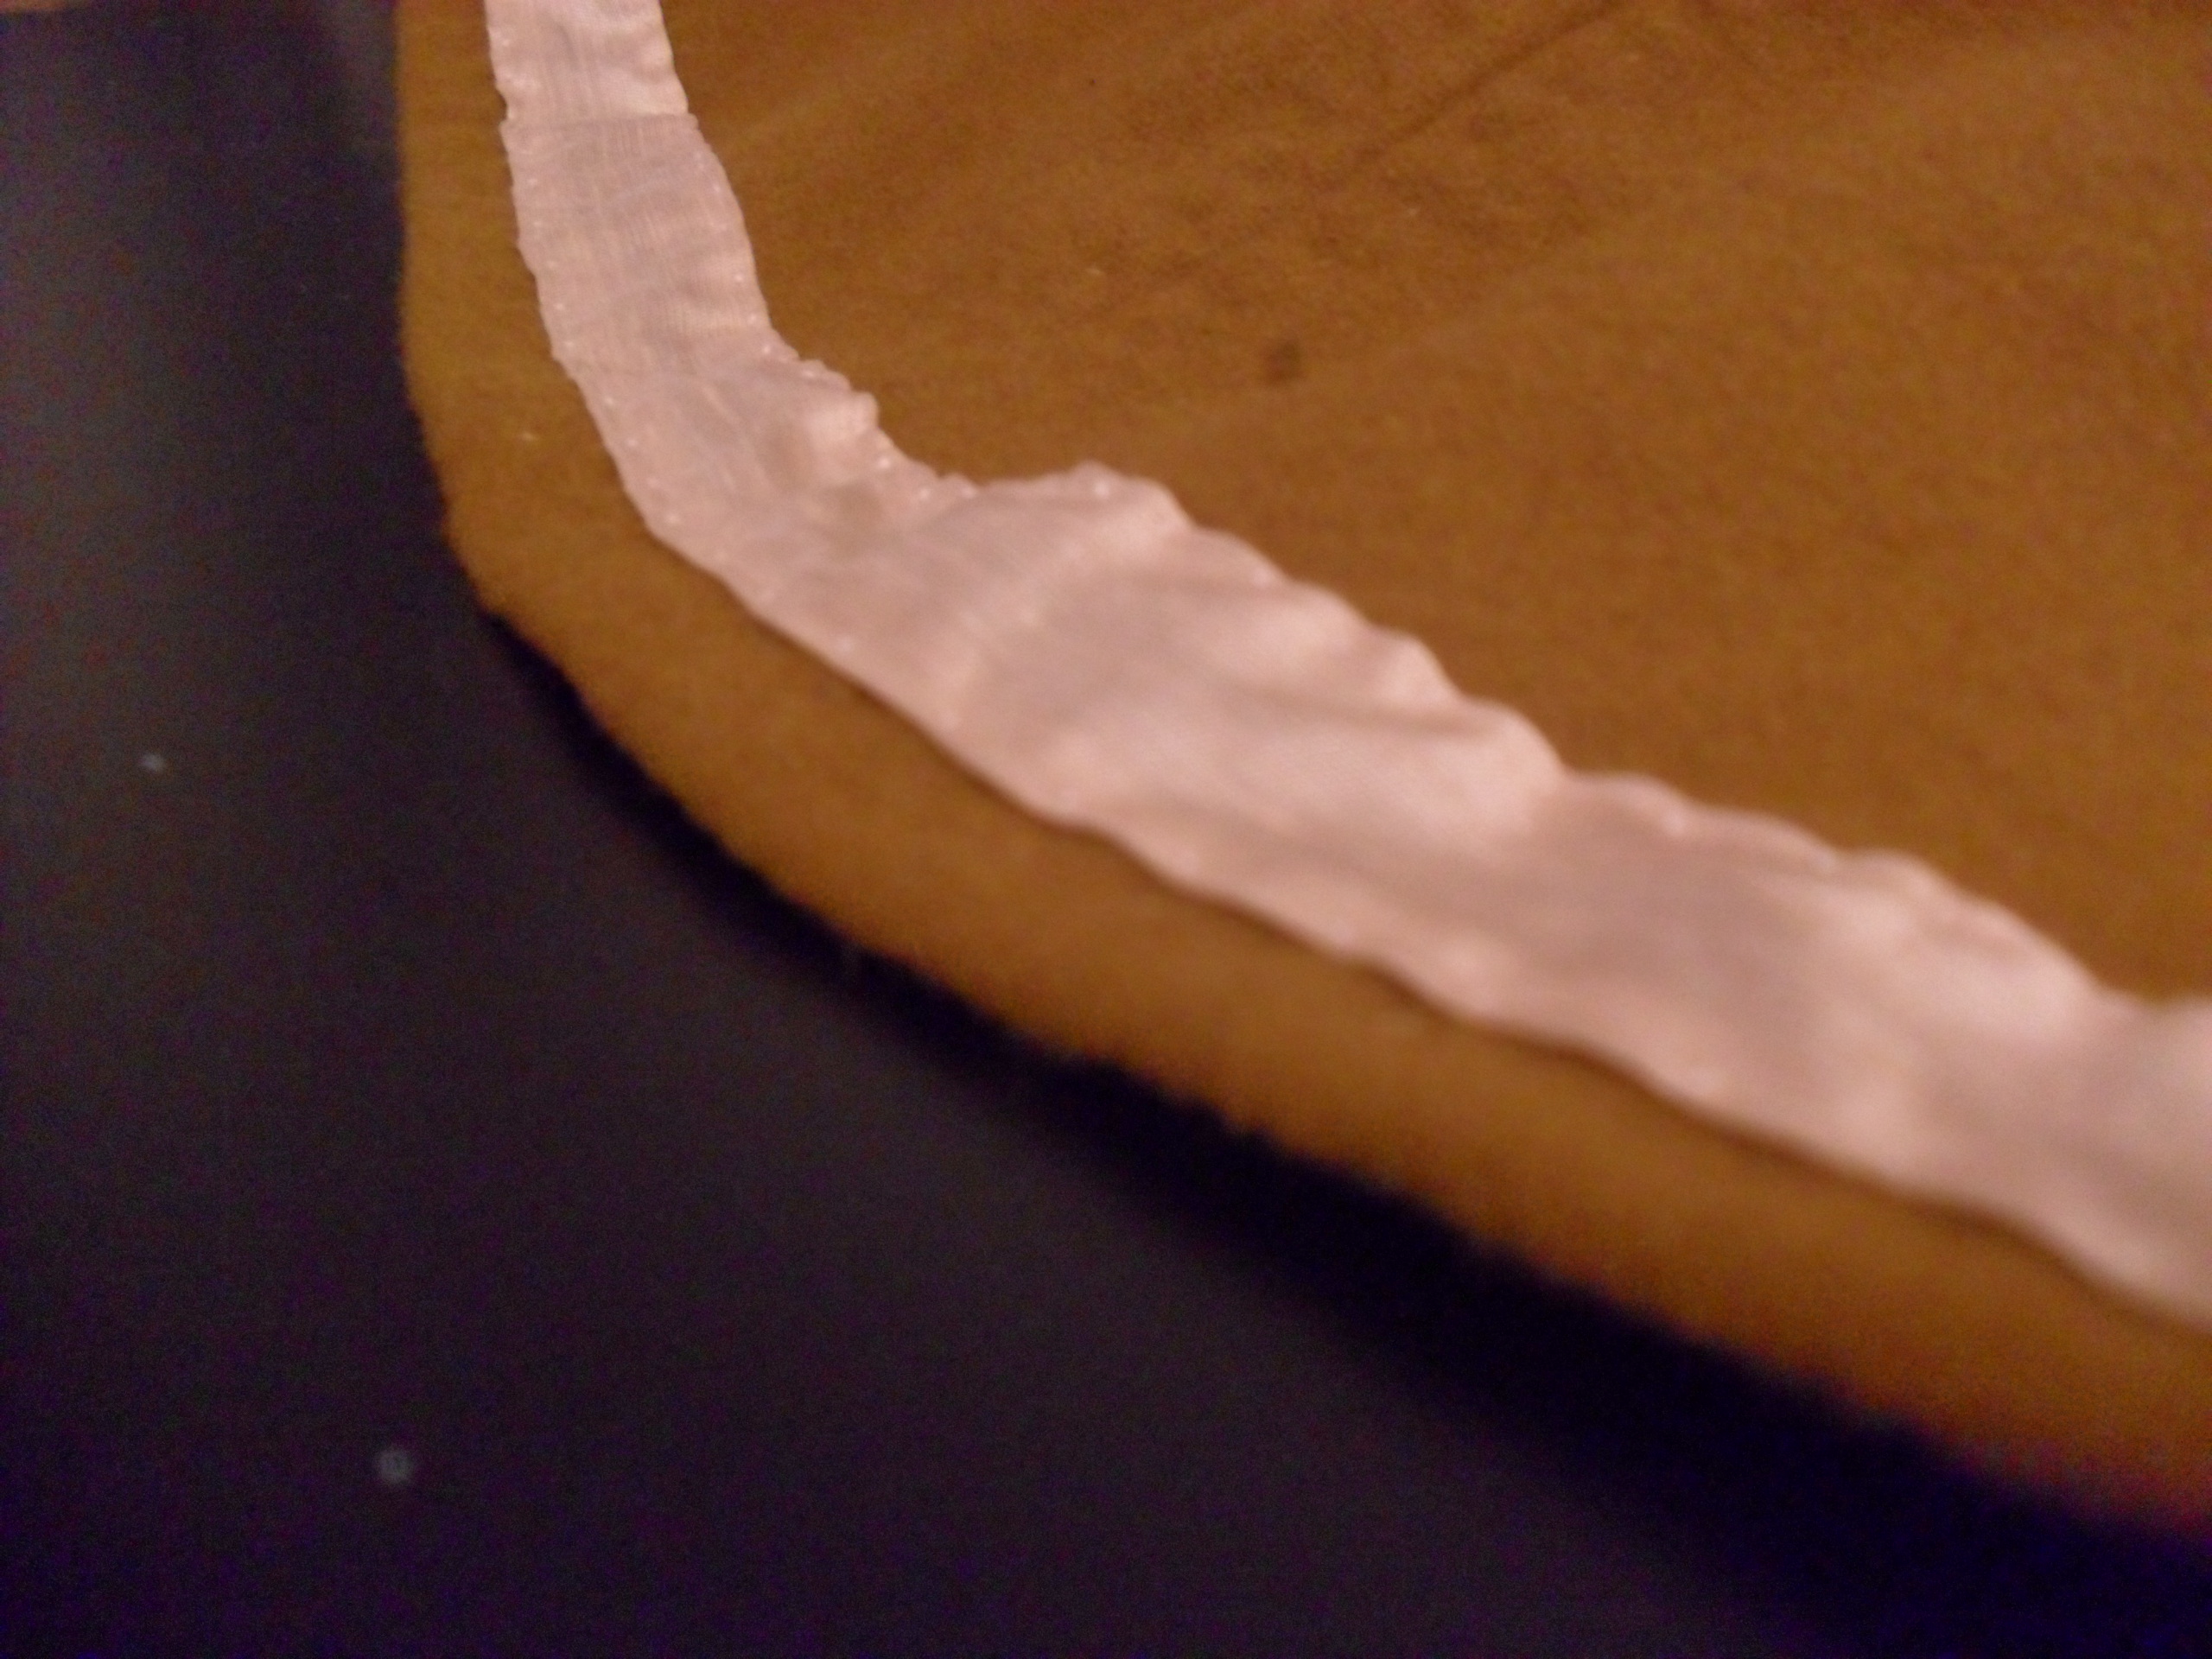
Back of gown, and braids in the back section of the hairstyle.
The back of the body does not continue down into the skirt like in a english gown, but is sewn as a bodice piece with the skirt gathered and stitched in place all the way around. Silk taffeta always shows every little wrinkle, but I am satisfied with the fit.
Wool would have made a better drape, but since the silk is so light, the skirt does not pull the body straight after I have moved around with my arms or twisted the body. This was also a new experience- my earlier medieval silk gowns are looser and heavier than this one. It was also really interesting to model a gown on a corset instead of my own, softer body. Both easier and more difficult.
Worn with a shift, corset, under skirt, skirt and padding in the back.
The front is overlapped and closes by pinning the opening, which I found useful as it allows the size to differ a bit. Say, if you for example loves snacks better than exercise…
The ruffles by the neck, sleeves and skirt front are made with the same silk fabric, scalloped and handsewn in place. The decor easily took more time than sewing and fitting the gown, but it was kind of fun!
I also made loose lace ruffles to wear by the elbow, they are basted in place when I need them so I may use them on different dresses. It got a little more bulky than sewing them into the sleeve, but I think they will work fine as soon as they have bent to the shape of my arms a bit.
I am not finished with this look quite yet; I don’t have proper 18th century shoes and my hair is styled with silly amounts of hair spray as I don’t have fake hair/hair pieces and correct styling tools for hair (yet?). The hairstyle is based on American Duchess book on 18th century beauty, but my hair is too short right now. I will have to get some good false pieces and more hair pins. And shoes. And maybe a pair of good socks too. Then I will be ready for…ehm, another project?
In Swedish tradition, Lucia comes at the winter’s darkest night, bringing light and hope. But the night is not only hopeful and joyous but also dangerous. It is best to stay awake, keeping watch over the darkness and your loved ones.
Lucia is the bringer of light, but also a fierce and strong soul, being murdered for her faith and her belief. She is sometimes depicted with a sword or a dagger as well as a light; symbols of her martyrdom. Her role as a light bringer, today often overshines her darker side; that of a dark magical being bringing trouble during the night in Swedish folklore.
In Swedish folklore, the night before Lucia was dark and full of magic; the animals might talk to you and many people stayed up all night- a tradition that still remains today. The celebration of Lucia as a turn of the year (Midwinter) toward lighter times is older than Christianity, and Lucia exists somewhere between an ancient goddess of light, a Saint and a white-clad girl coming with lights and cakes in the morning. With the modern calendar, Lucia is no longer at the Midwinter night but is celebrated 13th December.
The history of Saint Lucia (or Lucy) comes from Syracuse, around the 3-4th century CE. Lucia is the patron saint of the blind, as well as a number of professions, and the patroness of Syracuse in Italy. If you want to learn more about the Christian martyrdom https://en.wikipedia.org/wiki/Saint_Lucy is a good start.
This is my Lucia, a being existing somewhere between a magical place and the everyday life of people. She comes dressed in clothes from a thousand years ago, with both candles and a sword. She is a strong soul, bringing both light and darkness at the same time.
I have always loved the traditional Lucia celebrations with song and cake in the early morning, coming together to enjoy the light and music as well as longing for brighter days. To me, Lucia is both the Lightbringer and the Dark magical being. A reminder to both enjoy the light and the darkness of the year.
With the world as it is today with covid outbreaks everywhere, a lot of us finds ourselves at home, more or less bored and without our usual friends and pastimes. I know it may feel uncertain and depressing to not know how the world will be in a few weeks, months or even half a year. But instead of feeling down, I will do my best to lighten your mood and as a handcrafter, I will shamelessly take this opportunity to inspire you all to more handcrafting!
I mean, lots of time (and internet) on our hands, and a season to look forward to with magical events, cosy markets, lots of friends… (Yes, I know it might be a late-season, but the world will rotate back sooner or later.)
So, look at these photos- don’t you get inspired? Longing for some summer vibes?
What are your goals for this season? Do you need to update or mend your wardrobe? Or make some practical changes to your camping gear? Here are all my shifts washed, mended and ironed. Ready for fun adventures! (Also, welcome to a photo of some sexy medieval lingerie. It is here you’ll get all the tastiness!)
I have a long list of things I need to do before buying fabric or planning new projects. As I wrote the list in New Years, I kind of felt that I would Never Get It Done. But now, being home full time without any extra jobs, markets and uh, well…income I have decided To Get Things Done. Yes, all the things! Some serious sewing will happen in this home in the coming weeks.
If you need more inspiration to get started or know what to make, here are some really good tips:
Pinterest might be full of advertisement, photos and medieval-ish things but there’s really good inspiration too. My favourite is to search for different artists or painters from the period I want to know more about, or for earlier periods search for different finds, like “Birka graves Viking” and see what comes up. Pinterest will show you more of the things you click on and save, so as you go along you will find more and more. Check out where the sources come from, follow others with lots of good folders and get inspired!
Go through your historical wardrobe and sort things out. Clean/air, mend and iron things to make them look neat. Try them on if you feel like it, play, get inspired! Think back to the previous season- did everything work? Were those shoes comfy? Need to make adjustments to any garment or sew a new warmer one?
Mending might be boring, but feels great when it is done!
Sell things you don’t need or like. The second-hand market for reenactor wear is large and you can find lots of groups on Facebook for buying and selling things. Get rid of things from your wardrobe you don’t like, get some new money, use the money to make more things you really love!
Get yourself outside! No, I didn’t mean exercise, but even if there are no historical events right now you can gear yourself up and bring a friend out for some fun playing time. Take photos of your outfit in the forest, go for a hike, or cook over an open fire for lunch. Share all those photos on social media and share the new energy! (also, going out with your gear makes you see if everything’s working well or if you need to make adjustments.)
Warm and comfortable Viking, ready for a cold event!
Get yourself some new handcrafting things! With more time on your hands, you will have time for a really fun and inspirational project. (No, you don’t need to make all those boring things first, sometimes it is more important to get new joy before being practical.) Also, you purchasing new fabrics, threads, tools etc from small businesses will make all the difference for them now when many are struggling with survival due to cancelled markets etc.
And if you don’t feel like sewing everything for the coming season- consider ordering a new garment (pick the one you felt would be boring to make yourself) from your favourite business. It will support them, you will get a new fun garment, and new inspiration for the coming season.
(Hey; remember that I have lots of free tutorials for you here on the blog? And also, on my Patreon you can access all my tutorials for a good deal that I also sell on Etsy. This is kind of a commercial for my own stuff you know. Buy some stuff!)
And remember that even if you can’t go out to fun meetings and events all those lovely people are just a few clicks away, so why not start a sewing circle with skype, join a fb group or facetime with your friends while handcrafting! Spread the joy and happiness- handcraft more!
We went to the SCA event Double Wars in southern Sweden (Skåne) and traveled from early snowy spring to full summer in a day. Magical event on a beautiful site, and a really large historical camping ground. The drive took about 15 hours, so we divided it in two days and made some small stops and side trips along the way, like visiting historical buildings and eating ice-cream.
I am working on photos from the event, so the following blog post will be about the event, site, camp and lots of inspirational photos for you- hope you enjoy it!
The new red dress, late 14th century, in red wool with pewter buttons and front lacing. Since the event took place in early May, a warmer dress like this was a good choice. Being photographed in the camp site
Out new tent from Tentorium; we are really satisfied with the quality and the rainproof fabric, it kept us dry and comfortable living during the week-long event. Took the photo one morning, getting dressed in the late 15th c green kirtle (I will come back to this outfit later in a separate blog post)
One day we went for a short stroll down to the lake, through magical green forests with woodgarlic and birdsong
Do you remember my green houppelande with rabbit fur? I sold it, and tried out a new model (how else to learn?) in a green high quality wool, lined with silk and trimmed with the same silk fabric, to imitate a painting I got inspired by. I call it the Weyden outfit; and I will write more about it when I got the time.
Love is feeling very well now, and was spending most of his time hanging around the archery, practicing or just having a good time. He is wearing a 14th century outfit, made of wool.
I also like archery, and discovered that most of my outfits was wearable for shooting and handling the bow. Even the fancy new red dress, with large veil was ok. What I didn’t like? My straw hat and the temple braids; they got in my way.
Here with love, practicing archery
Strolling around the camp groundsMarket day, love is jumping in to help some customers, while I had a snack and talked about clothing with friends.
Me and Aleydis by the lake, she was swimming in the cold water, while I was minding the sun…
Do you like what you see? SCA is a big organisation that is active in lots of European countries, USA, as well as other places around the world. Google SCA and your country or city to find out if you have a local group to join- SCA is friendly for beginners and there is lots of help and friends to have if you want to join in and journey with us to long-ago-times!
The last tutorial was about how I made my first Houppelande (medieval overdress) that was an early houppelande, with a pattern layout that saved in on the fabric.
Now we move on to the opposite; a full circular houppelande dress that was the high fashion during the 15th century, and were worn by both men and women (with different lengths and fashion details of course) The construction method for this one is open for discussion; there might have been gores and more pieces according to different fabric widths during the medieval period. This layout is practical and simple if your fabric is 150 cm wide and you want the houppelande to be of as much fabric as possible, the small pieces allowing you to save in on the fabric a little.
The construction idea is from an article I found ages ago (that is now lost on the internet?) And later tailor’s books which shows very full dresses for women and coats for men. The shape, style and drape of this method also look similar to paintings of houppelandes.
First, you need a lot of fabric! How much depends on your length, in this example, I make a pattern that gives you a dress around 150 cm long; good for the shorter woman or for a man (since houppes for men usually leaves at least the shoes visible) That means you will need 5,2 meters of fabric for the dress itself, and then another 1,5 to 3 meters for the sleeves. Oh, and maybe a full lining too?
The pattern is basically 4 quarters of a circle; forming a full circle when put together. The small pieces save you some fabric, but you may cut out the full quarter circles if you prefer. If you go with the pieces, then sew them together with the quarters the first thing when you have cut them out, so you have 4 whole quarters.
Then, sew the shoulder seams together, that is the short straight seams above the arrows. Leave the armholes (on the pattern they are cut out as half-moons) and sew the sides together. To know how wide your armholes should be; measure yourself loosely around your armpit, or use a previous pattern. Add extra cm for movement; at least 5-6 cm.
The seam length of the shoulder should follow your shoulder; between 10-14 cm depending on how long shoulders you have. The armholes should be laying on the body, not falling down from the shoulder to your upper arm. Cut away what you don’t need, a little at a time if you are unsure.
When you are satisfied with the shoulder, armholes and side seams, sew the back and front together with each other, front to front, back to back. In the front, you leave an opening big enough so you can dress and undress easily. On paintings, some dresses are open almost to the hip. In the back you need to leave an opening big enough for your neck, try it on and you will understand! The open seam will give you the neckline on the back, and can then be cut for a rounder style if you like, or you could add a collar.
So, that was it- quick and easy yes? Now the dress should look something like the sketch above, and you can attach the sleeves to the dress. Sleeves? Well, that is for the next part of the Houppelande tutorial series. Stay tuned!
Since I made my first houppelande (late medieval overdress) some years ago, I have been thinking about putting together a tutorial for you, to make it easier to understand the construction techniques behind the dress.
As it turned out, the houppelande dress is a bigger project than I thought at the beginning, so I’m doing the tutorials in different parts so it will be easier for you to find the model you are most interested in, and to get a nice overview of the whole dress style.
I start with my first woollen houppelande:
This was somewhat of an experiment trying out both pattern and what it would look like finished. I could not find my original sketch for the pattern layout, but it did look something like this:
Some notes; this type of pattern layout work well in a tabby weave since it doesn’t matter if you turn your front and back pieces, but you can also use an even sided twill like I did. If doing this type of pattern on a patterned fabric, you can have the pattern one way on the front pieces and the opposite on the back pieces, which work really well I think, if you want to save on the fabric.
The amount of fabric needed for this layout, in size small, is 150 cm * 280 cm (I used 3 meters of fabric, so I had a slightly larger hem.
F=front, B=back and FM= front middle gore. S1 and S2 are the sleeves. I always recommend drawing out your pattern before you do it on your fabric, it gives you the opportunity to see if all the pieces have room and if you can add some extra circumference to the skirt. I also use to draw out how the garment will look finished, to give you an extra idea of the result. The small cut out pattern piece I use to draw the pieces faster by drawing around it on the paper.
This is what it looked like once I had cut out all the pieces. After cutting, baste your pieces together to try them on, or sew them at once. I used running stitches and back stitches for parts where there was more stress on the seams (like around the body, the armholes, and the top of the front gore). I also pressed the seam allowances down and whip stitched them. You can of course sew your dress on a sewing machine if you would like, just be sure to pin or baste the skirt lengths first so they don’t stretch uneven.
Always pin or baste your pieces together when they lay flat on a surface. After this is done, you can have the garment in your knee, sitting comfy on the sofa and sewing without having the seams getting all uneven. I started with the front gore, then sew the front and back pieces together. The sleeves were made after the “fitted sleeve” tutorial.
The hem is folded twice and whip stitched down, and the sleeves and front opening is lined with soft, cut sheepskin in a matching colour.
The dress is sold since some time back, and I moved on to make another kind of pattern construction (as I usually do). I liked this one because of its simplicity, it was very comfortable and not bulky around the upper body. Another pro was that it didn’t take a lot of fabric to make it. I really liked the fluffy lining since it gave a lot of extra warmth.
The style is somewhat unusual in art but can be seen at the start of the houppelande period in some regions, though with a tighter upper body, the sleeves were full length and often somewhat tighter. For paintings and art inspiration, check out my Pinterest board about Houppelande dresses
What I didn’t like was that I dragged the hem of the dress after me everywhere, without getting the comfort of a warm and thick enough fabric to protect me from rain and chilly winds. So the next one became a bit sturdier in fabric, and with more fabric…
This blog post contains a collaboration advertisement for sewing machine guides from Sewingland.
I thought I would share my best tips and tricks for making good apron dresses, since I have made a whole bunch of them by now, and probably most of the mistakes too. If this is your first try at an apron dress, check out my tutorials Easy apron Dress or Fitted apron dress first. At the end of my post, you’ll find a link to useful sewing machine guides if you would like to make your dress on a sewing machine.
Nr 1. Use enough fabric. I know it’s tempting to save on the fabric, but trust me. Too short and tight a dress will look like a modern dress. I use around 2 m *1,5 m to mine, and if you are larger/longer than me, you need a bit more.
Nr 2. Use a thin enough fabric. Save the sturdy, felted wool fabrics for a coat or a cape and chose a thin, rather loosely woven fabric. It should be comfortable and have a nice fall, try to drape it over a piece of furniture, like a table, and look how the folds drape.
Nr 3. Try it on while sewing with all your other layers of clothing, to make sure you will have enough room under the apron dress for a shift and a possible warmer dress if you think you will be needing that.
Nr 4. Don’t make the straps too long. I think it looks very strange when women are wearing their dresses in the middle of their bust, or even under their nipple area. Please don’t. When you fasten tortoise brooches, you can pin them through your strap, or make a knot at the end of a strap being a bit too long.
Nr 5. If you don’t have tortoise brooches to fasten your dress with, don’t use modern buttons or fastenings in the meantime. I have learned that apron dresses were not a thing without brooches, like the dress is an accessory to the jewellery and not the other way around. You don’t have to wear apron dresses for reenacting a viking woman, a simple long kirtle will do. So skip the apron dress if you don’t own the brooches, or sew the straps directly to the dress itself if you are momentary without them.
Nr 6. The thin fabric could be lined with a strip of linen or wool to protect the hem and support the top.
Nr 7. You may sew on a piece of tablet-woven band or a thin silk strip around the upper part of the dress, to make it durable, enhance the fitting and also, for decoration. Another way to decorate the dress is to sew a small wool braid to the top.
Nr 8. Decorating your dress doesn’t have to be expensive. Use thin strips of patterned silks, tablet woven bands, viking silver posaments, or just a braided cord. On the small figurines, it seems like there is decoration around the hem of the dress, and in grave finds there are remnants of silk and decorations around the upper part, partly inside the tortoise brooches. Save money and time and decorate only the upper part of the dress, or do the whole thing!
Nr 9. Use the same type of thread as the decoration you want to sew to your dress. Silk thread for silk fabrics, wool thread for woven bands, and a very thin and fine silk thread for posaments. This will give you a nice seam, that is as little visible as possible, and doesn’t damage the decorations.
Nr 10. To protect your dress from everyday stains; use a belt to fasten up your dress while working, this will protect the hem from mud, open fire and stains. Also, an apron is a very good choice for protecting your clothes. Or remove the apron dress and work in your shift or woollen dress. It seems the apron dress was a status symbol and finer wear, so it is probable that women didn’t wear them while labouring.
I do realise I’ve been going on with this blog now for quite a while, without giving you the chance to really get to know me. As new readers find they way here (welcome!) I really think it is time to do a better presentation.
What is Handcrafted History?
Handcrafted History is my own, one person company, my full time commitment and my dream coming true of working with the things I love most. From the beginning I called my blog and business “Hantverkat” which means “Handcrafted” but as I started translating my content and write in English, I realised I needed a better sounding name; easy for you non-Swedish readers to find.
Who am I?
My name is Linda, I am from North Sweden (from a town called Luleå) and is a woman trying my best to find balance in a life (like everybody else really) with work, free time, dreams, commitments, love, bills to pay and animals to care for. I have a horse named Rocken, bunnies and a husband whom I married in the summer of 2017.
Rocken in his winter coat, by the river
I’ve been interested in all things medieval, viking, fantasy and adventurous for as long as I can remember; but my first historic adventure was a larp I attended at age 16. Since then, I have studied arts and handcrafts, achieved a master in arts and teaching, and working as a teacher in these subjects for several years, finally realising there might be a way to combine paid work with dreams of how my life could be.
All in all, I try to live my life the way I really want to live it, as the person I really want to be, at the same time affording my bills and the food on the table. Working as your own is really a lot of long hours, the pay is not always good, but there is love and freedom that makes it worth your while, if you are ready to really go for it and not afraid to evolve yourself in areas you did not even know existed.
Were do I live?
I live in the middle of Sweden, by the Baltic Sea just outside a town called Sundsvall. Me and love have a small house, a garden with berries and different kinds of gardening projects, and bunnies digging holes everywhere if not watched. I run my company from home, partly because I like it that way, but also for keeping expenses low.
The viking age rune stone closest to my home, pass it almost every day by car.
What’s the blog about? What will you find here?
Mostly, medieval and viking age stuff; outfits, patterns, tutorials and lots of inspiration for your own handcrafting and adventuring. Occasionally, modern sewing tips find their way here, as well as everyday happenings and personal stuff. But mostly, sewing. If you click on the “Tutorial” page you’ll find all my free tutorials there. If you want to buy ready-made things, or order clothes for yourself, click on “Order your clothes” to learn more, or send me an email if you are non-Swede and wants information in english.
Why am I blogging?
I started blogging some ten years ago, with different blogs about art, handcraft and larping. For a short period I also tried out that lifestyle thing- but really, it was not for me. Some years back I landed with Hantverkat which mainly was about handcrafting, arts and historic adventures. I have always loved to write, take photos and tell stories about what I have done, as well as teaching others about handcrafting.
My Handcrafted History blog is a way of being creative, educational, artistic and running my business, all in the same place!
How can you support the blog (without monetary contribution)?
Did you know, that if each reader would contribute with a dollar/month I could go on making you online tutorials as my full-time work. That would be like 2-3 tutorials for free each week!
But, as they say, free is always good (or in Swedish “gratis är gott”) so if you like the blog and what you see here; go to my facebook page and give it your like/follow me. If you have tried the tutorials or attended one of my workshops, it would be wonderful if you could give me a review there. I also get very happy if you share things you like with your friends.
Don’t use facebook? A comment on the blog makes me a very happy person too, or you could tell a friend about Handcrafted History =)
Why? Because the more activity on social channels the more new people will find their way here to read, order clothes or book a workshop. That means money for me, and when I have food on the table I always feel inspired to do more free tutorials! Yeay! (Due to how facebook and other medias work, more likes and interactions also leads to more visibility for more persons.)
If you feel that a small monetary contribution would be in your taste; I am working on an easy way to make that possible during 2017.
Living close to the forest
Other Media Channels
Apart from my blog, I also have an Instagram: #handcraftedhistory
So, that was a bit about me! It would be so much fun to know You a little more; please comment and tell me were you are from, what you like to sew and if you have a blog on your own!
So, I recently searched my computer to find some old I-know-they-should-be-here-somewere-photos (when I was young I had all photos in an actual box, fancy that…) on my viking age outfit. I found them, and a lot of other photos of moments not forgotten, but clearly from a time far far away. So I wanted to share some old but good clothes and pictures with you all, most of them now sold or given away to support new dreams. I like that clothes I have grown tired of can have new adventures with other people!
Both the black and red dress now has new owners, but they were really fancy together!
Look at K, she is sooo gorgeous in that hood!
B has a loose overdress, I will show you that again a couple of years later in a coming post…
K in her viking garb during a Christmas market. Wearing the cloak over the hood makes all the warm air stay inside, and the wind outside.
3 layers of wool keeps you warm during springwinter time (yes, it´s called vårvinter in northen Sweden. That time of year when it’s warm and sunny during daytime, but real winter during the nights).
Look what a fancy photo! It’s more common for me to make funny faces or blink during photoshoots, but this one is really nice. A very chilly day with freezing winds, so I wore the red dress from the first picture, under a blue shortsleeved woolen dress with pinned-on sleeves and a hood.
All this photos made me realise I got lots of new inspiration for making new garb, and some pieces that are newly finished but not yet documented.
I januari när snöskottning och eldning i huset är huvudsysslor känns medeltidssommaren ofta långt borta. Men det är ju nu det finns massor av tid för att gå igenom garderoben och planera upp nya projekt inför säsongen!
Under vintern är det bra att vädra alla kläder och städa ur förvaringsutrymmen för att undvika oönskade hyresgäster. Speciellt medeltidskläderna mår bra av vädring, de används inte lika ofta, och ylleplaggen tvättas bara när det verkligen behövs.
Jag väntar på en kall dag med minusgrader och snö, och sedan hänger jag ut alla plagg, gärna under något dygn om jag har tid. Luftfuktigheten på vintern är lägre än på sommaren, och det är fukten i luften som transporterar bort smuts från ylleplaggen och gör dem fräschare, enkelt förklarat. Men kylan kan istället ta död på lite kryp, och genom att skaka ur plaggen några varv och vända på dem så blir de avdammade och eventuella kryp kan ramla ned på snön och syns tydligt.
Jag brukar föra anteckningar över hur jag tycker att dräkterna fungerar på event, och skissar ofta på nya idéer när jag får inspiration från andra eller från någon spännande bok.
(Långt ifrån alla idéer blir till plagg, men här är första skisserna av halloweendräkten.)
Ett bra sätt att få koll på sina medeltidskläder är att sortera upp dem i högar efter årtal, användningsområden eller säsong, och sedan fundera på om något behöver kompletteras. Behövs det fler underkläder till årets medeltidsvecka eller kanske vinterplagg till vikingadräkten? Jag skriver upp alla idéer jag kommer på; och sen vet jag vad jag behöver till sommaren!
När man har en färdig plan känns det ju också enklare att starta med ett projekt…
Själv syr jag på några klänningar som ska bli klara till sommarens medeltidsäventyr, lagar strumpor och ska ta tag i den nya gollaren som jag håller på med när inspirationen faller på.


 Mending might be boring, but feels great when it is done!
 Warm and comfortable Viking, ready for a cold event!


")


")