I have a new digital workshop/masterclass; how to learn tablet weaving! This masterclass is created after several of my followers and friends told me they would love to attend my weaving workshops, but the sites/schedule didn’t add up. So I remade my popular workshop that I have run for 10 years, and made it digital! I am very happy with it, and I hope you will enjoy it too!
from a video clip
In the online masterclass, you will learn everything you need to start weaving: how to set up your warp, weave, solve problems and design simple patterns. The Masterclass is online; log in and follow the instructions at your pace with video clips for every step. Revisit them as many times as you need, and learn more theory in the included PDF booklet. Ask questions in the community and share your experiences with others.
How does it work?
Purchase the masterclass either by email or on Etsy. You will receive a password to the login page here on my website where you will find 25 instructional video clips and the 15-page booklet. Follow the instructions and work your way through the videos one by one, at your own pace. You will have access to the Masterclass for the rest of the year!
Starting kit: I offer a starting kit if you don’t yet have all the tools that you need!
If you don’t order the starting kit you need the following: 8 tablets, a shuttle, and a tablet lock. I use wool yarn 20/2, 40 meters of each colour.
Other tools: scissors, pen, measuring tape, sturdy ribbon.
Online Masterclass: Masterclass pdf booklet. Access to the masterclass page with video clips + bonus clips. Access to my online community, chat with others and get feedback from me.
Online masterclass + starting kit: Masterclass pdf booklet. Access to the masterclass page with video clips + bonus clips. Access to my online community, chat with others and get feedback from me. +All tools you need to start weaving: 8 Paper tablets, tablet lock/pin, shuttle and weaving fastener. Wool yarn for your first project + more weaving. 400 meters of each colour, a total of 800 meters. Pick your 2 favourite colours or get a surprise mix (write a comment). Additional 12 tablets for future projects (20 in total). The starting kit will be shipped to your address.
This post is a collab with Korps and contains advertisement for fabrics
Want to own a really nice cloak? Who doesn’t? (yeah, it was a leading question)
Here is my guide to the perfect cloak; we are going to look at different styles, periods, how to wear it and how to choose the best fabric.
Sources:
Let’s start with some local finds, and the oldest one first: The Gerum cloak is dated to 360-100 BCE and is an oval cloak, worn folded over the shoulders. It is a great cloak woven in a patterned twill, and wearing it folded in the middle, it will look a bit like a semicircular cloak. Wearing a big cloak folded in half, is a good way to add warmth if you don’t have a thick fabric or a lining in your cloak.
Rectangular shawl in tabby wool to a simple viking dress
Viking age cloaks can be seen on runestones, decorations, small figurines and are also mentioned in written sources. I usually call it cloak for a man’s outfit and shawl for a woman’s, but since they have the same function we will just call everything cloaks in this post.
If you fold a square piece of fabric into a triangle and wear it, it will look similar to some female figurines. Rectangular cloaks are another option, where figures are shown wearing an outer garment with corners. If you want to learn more about Viking age cloak theory; check out Viking clothing by Ewing, 2007.
Woad blue cloak or shawl, tabby woven wool fabric
The cloak from Leksand was found in a woman’s grave and is dated to the period 1100-1200. It was made from diamond twill wool, and most likely was a semicircular cloak with an opening at the front, it was also decorated with tablet woven bands at the opening (along the straight side).
The cloak worn by the Bocksten man was also semicircular with a cut hole for the neck, and a seam over one shoulder (the opening was not centered at the front) The cloak was made of several pieces of fabric, pieced together. (Kläderna och människan i medeltidens Sverige och Norge, Eva Andersson, 2006.)
How to draft a semicircular cloak on 150 cm wide fabric; it is really easy!
The cloak that supposedly belonged to St Birgitta of Sweden was also made of several pieces of fabric, but this garment is believed to have been remade from a dress.
During the 13th century, you can see lots of cloaks in contemporary sources (such as the Morgan bible), as the cloak was an important part of the outfit. During the 14th century, there are some really pretty examples of statues with buttons down the front or over one shoulder, and in 15th c paintings, they are often artfully draped in biblical scenes, but not very common in everyday portraits.
Simple semicircular travelling cloak in brown wool twill
16th century cloak patterns from Drei Schnittbucher shows examples of circular cloaks with a front opening, slits, collars and even sleeves sewn onto the cloak.
Full circular cloak pattern, look at that piecing!
Full cloak with sleeves, collar and decorative borders
Interestingthoughts:
In written sources, cloaks go under many different names depending on the time, period, appearance and who the wearer is. There is also evidence of cloaks lined with fur or fabric, cloaks with slits or trains, and of different lenght. Clearly, the garment was both used in a religious context as well as an everyday travel item.
I have not found evidence of hoods or head covering sewn onto the cloak in any finds, and when a hood is shown in contemporary art it is commonly separate from the cloak, even though it might be in the same colour as the larger garment. So if you want to make an outfit close to historical sources, make a cloak and a separate hood that correspond with the fashion of the time. (Hoods on cloaks can be seen in 18th c fashion, but let’s leave that century to another time)
Cloaks may be fastened with a seam, pin, clasp, strings, ribbons, brooch, ring brooches or buttons. Choose your method based on which period you would like it to reflect. Cloaks are fairly common in period art sources, so if you browse through a bunch of paintings you might get the idea on what to choose.
The length of the cloak seems to vary with the wearer; a travelling cloak between the knee and below the calf on men, and a bit longer on women, with ceremonial cloaks trailing behind the wearer. But paintings and prints show evidence of shorter cloaks too, with everything from decorated court cloaks to simple peasant women cloaks. Pick the length that suits your need; too much length and fabric will only weigh you down if you want a practical garment.
example of a semicircular cloak
And as always; piecing is very ok to make use of the fabric!
Different models of cloaks:
Oval cloak, square cloak, rectangular cloak, semicircular cloak (or 1/2 circle cloak), cloak with shoulder seams (or 3/4 circle cloak) and full circle cloak. The Viking age square cloak folded in half is not based on finds but more of an experiment, as is the shoulder seam cloak ( I included that in the picture though, so you may see what I am talking about). The latter I often use when I need to make a larger cloak than the semicircular one but don’t have fabric or historical evidence for a full circular cloak. The seams or piecing could as well be made on other parts of the cloak.
I have found no evidence for the cloak with vertical sections/seams to create a fit (which is popular when buying modern cloak patterns) instead, I would recommend you to choose a simple cut and then drape it on your body to your liking. Small shoulder seams or darts can be made as a more modern solution to make the cloak stay over your shoulders.
The cloak does not need to have an even hem, many examples are just draped over the body or longer back. If you want to make a full circular cloak more even by the hem, you may cut the neck hole nearer the front hem than the back hem (my full cloak is 70 cm at the front, and 80 cm long at the back). Putting the cloak on the body and adjusting the hem afterwards is another method.
Decorations:
Finds, paintings and statues indicate that embroidery, woven bands, silk or a combination of these were used to decorate the cloak, however, these examples are mainly seen on religious or high-status garments. For an everyday cloak, I would go with a sturdy, fulled fabric without decorations. If you want to decorate your cloak; try to find artwork from the period you want to recreate.
Fabric choises:
Wool, unlined or lined with wool or fur is both practical, and the most used material in cloaks during the medieval period. There are examples of velvet and silk cloaks, but only for ceremonial or high-status wearers. A sturdy, dense wool fabric that has been fulled would do well for a cloak, and beyond that, it is more a matter of when you need it (a lined winter cloak or a thinner, fashionable draped summer cloak?) There are examples of both twill and tabby woven cloaks, so again- to find the perfect cloak fabric for your period, status and adventure you would have to do some research for yourself.
Generally speaking, the right kind of fabric and the way you drape your cloak is more important than which model you choose, if you want to look dramatic. Buy enough fabric to give you the size of the cloak you need!
If you just want a good, affordable fabric right now; I include some links here to Korps.se that sells good thick woollen fabrics for cloaks. Very thick and warm fabric, or a softer and warm choice.
Colours:
The best colours for your cloak is: “yeah, it depends on..” you are starting to get this right? Period, area, status, wearer… like with all the other garments the medieval person would buy or make a garment according to what they could afford and what was available/allowed for them. Use artwork again; blues, reds and browns are seen often, and during the late medieval period dark hues and black seems to be popular. A commoner or person living in rural areas maybe had an undyed homemade cloak, while a fashionable burgher would wear something bought, dyed and cut to their taste. The cloak also differed between a garment of fashion and an everyday outer wear for bad weather; let this reflect the colour you choose.
Or, if you prefer, use this information to inspire you into making an awesome fantasy cloak for your next fantasy adventure!
This post is a collab with Korps and contains advertisement for plantdyes and fabrics
I wanted to put down what I have learned about coloured garments and fabrics from the Viking age, so you may use it as a guide when deciding on the colours for your viking outfit.
Colour pigments available during the Viking age according to Ewing in “Viking Clothing”: blue (woad), lichen (purple), red (madder) and yellow (not identified) but also…
Blue could range from soft, muted grey-blue, watered blues, to saturated deep blue tones. The same goes for other colours; white wool, lots of dye and a skilled dyer will get you deeper and more even colours than mixed wools, and so on. The range of red is very wide; orange hues, muted brown-red tones, to saturated reds and cold red such as wine red. Lichen purple range from violet and almost lavender tones to purple hues with red and pink tones. Yellow dyes can be made with a great number of different plants all the way from a beige soft tone to brilliant yellows, or light green tones.
Walnut shells found in Hedeby and Oseberg gives you rich reddish browns, or warm browns.
Natural colours from the sheep’s wool ranged from white to muddled white tones, browns and dark browns. Black fabric would not have been as black as the fashionable 16th c fabrics, but more brown-black from the sheep’s natural colour.
The shawl and silk cap are dyed with natural colours (woad), while the dress and apron dress are dyed with modern dyes.
By sorting the wool into different qualities and colours you can make fabric that is white and therefore gives a very brilliant colour when dyed, but also mottled fabrics, or striped ones by weaving with threads of different colours. Some weaves from the Herjolfnes finds (medieval period) are made this way; by having one colour in the warp and one in the wheft.
Different ways of dyeing: the wool, the spun yarn or the finished fabric. Dyeing spun yarn and then weaving gives you a fabric that is a bit mottled, but was also used to make patterned fabrics. Dyeing the woven fabric make sure you get the exact amount you need for a garment in as even a tone as possible. Dying the wool before spinning is mentioned in later sources from the medieval period, and one madder-red example was found in viking settlements in York.
Many people probably wore undyed clothing in natural beige, browns, dark brown tones, woven in an even tone, mottled hues or patterned by the use of different natural shades during weaving.
Muted and soft colour tones, as well as mottled hues, were easier to make than deeply saturated colours and thus cheaper. Plants used for dyeing have been found growing in the same regions as the viking settlements, as well as being imported as raw materials, or already coloured fabrics.
Brilliant red and blue tones are being mentioned as high-status markers worn by royalty and their followers or being important gifts. Especially blue seems to have been a popular colour with lots of examples from finds and written texts. Old sagas and literature describe people donning coloured garments (a blue kirtle for example) before going out on important business, so if you are planning on attending an important meeting, a great feast or avenging a friend, you could always wear your best red cloak or blue kirtle for the occasion!
Linen was unbleached, or bleached. A linen shirt being “white as snow” was a status marker clearly standing out to those around the wearer. A finer weave and brighter white were seen as superior and would give higher prices.
(There are examples of dyed linen fabrics in red and blue colours, but they are uncommon so I will not go into details here.)
Shades based on cochineal
What should you look for when buying fabric?
Vibrant and saturated: blue and red were popular but expensive, if you would like to create a high-status viking these are good choices. Combine these with high-status jewelry, good quality shoes and white linen for undergarments.
Muted, soft shades: if you want to create everyday garments, softer tones are better: soft blues, reds, yellows, dyed browns, but also all in-between hues that are hard to describe in text: rust-red, red-brown, yellow-greens, light purple-pink hues, warm tones between yellow-orange-brown-apricot. Combine with unbleached, half bleached or almost white linen underwear.
Uncoloured wools are a good choice for the everyday clothes of people living farther from cities and other trading areas. For underwear, unbleached or half bleached linen, or another layer of wool fabric will do nicely. (Finds from Norway and Gotland indicates that an all wool outfit were more usual there).
Sometimes it can be difficult to find good fabric choices, so here are some examples from Korps that I would recommend. Avoid the darkest reds/greens/blues/turquoise and go for the softer shades. The beige/natural coloured wool is a great example of an undyed fabric choice.
I always order fabric samples to be able to see and feel the fabrics for real before buying (you should do it too, they have lots of samples!) It also gives you the opportunity to match shades with each other for a great outfit. For more on that subject; check out this post.
Korps have plant dyes if you want to try plant dying yourself, along with a free booklet (in Swedish) with information and formulas. Look for fabrics that are sold for plant dying, or ask for those, to avoid already coloured or treated fabrics.
Remember: not all plant dyeing available today was used during the Viking age, some are imports from a later date, or was not effective enough without chemicals. If you want to learn more about plant dyes and colouring there’s much to read on the internet, even at Wikipedia.
This post is a collaboration with Korps and contain advertisement for fabrics from their webpage.
Are you longing for some historically-inspired life and camping? Now is a great time to get inspiration and ideas for the next event and plan what you would like your living place to look like!
Look at this lovely place, I am longing to be outside in a camp again! Imagine sitting in that corner while it is raining, having cookies and wine and chatting with friends.
I spent lots of time at the beginning of my reenactment adventure life pondering over what I would need and what I would like to bring to different events. I also collected lots of photos of things that looked practical or just pretty and wrote lists of things that would be good to have next time. Kitchen towel, water flask, bucket and extra wool blankets are things that piled on those lists, helped there by experience or inspiration from other reenactors.
Mmm, look at this cozy place! Wouldn’t you love to eat lunch here? I would put the bread in a basket, have extra napkins and plates for guests ready and decorate the table with some fruits.
My main inspiration to improve my camping life have come from SCA events, since these often are quite long and you’ll meet lots of others that have been in the hobby for a long time, thus having created pretty and comfortable living areas.
Far from everything in these photos is as historically close as possible; most tents are machine sewn, furniture is made with modern tools and practical solutions mostly won over historical ones, when it comes to food prepping and hygiene. With that said, here are lots of options for camping life, with amazing handcrafting and historical techniques and materials.
Capturing all the good ideas
The feeling of homeliness; look at these camps! The furniture, the kitchenware, pennants, lanterns… Even if everything is not based on historical finds from a specific period, the overall look is awesome. The ropes and tent walls actually add to the feeling of spaciousness, of having a living place outside in the woods. (I like the table cloth, thinking about making one to my kitchen)
My best practical ideas;
A good blanket! I put my heavy wool blanket on top of my bed to keep it dry and warm, use it as a picnic blanket, and a cloak during cold evenings. To get a really big, affordable wool blanket; buy a good quality wool fabric and make one yourself! This fabric is a good choice, super thick and sturdy!
Get the fire up from the ground! On many sites, fire safety dictates that the fire pit should be 30-50 cm above the ground. Plan for that by building a fire bowl with legs, and you have a convenient cooking place so you don’t have to crawl on the ground to cook.
The drink’s on the house! Naw, you don’t have to give out free beer, but it’s good to have water available. Bring jugs and bottles for the stylish table, as well as tanks/containers that fit larger quantities of water. If you don’t have historical options, use a plastic one and hide it in a cloth sack.
A fabric roof! Cheap, practical and good for both sunshade and rain. Make your own by sewing two pieces of fabric together (150*400 cm), and add some sturdy holes in them. To put up your new roof you also need some ropes and wooden poles with nails going through the holes. You can find good tent/canvas fabrics here. (You could also use these fabrics to sew your own tent on your regular sewing machine.)
Do you have any goals for your camp, or fun ideas you want to do? Here is my wish-list for improving our camp: (hopefully I will get around to these, and now when I have put them down here I think the probability will be even higher…)
A fireplace like this. Sooo practical! I wish someone would build me a square fire bowl. I would stack the wood neatly underneath, make coffee in the morning and feel like a queen while doing so!
Making the packing a bit less… plastic. It is convenient to store and transport lots of things in plastic bins, but they are Oh So Ugly. I am working on using wooden boxes instead, and cloth sacks.
Painted silk flags! It is so pretty, I want a whole bunch of them hanging by our camp, and then I will give everyone directions to our tent by telling them “just go to the big tent with all the pretty pennants”.
This blog post was made with the support of my Patreon supporters, thank You for helping me bring more free tutorials into the world!
This post also contains a collaboration advertisement for Crafty Hangouts. They do what I do not have the patience for: writing lots of guides about sewing machines.
Wool hose was worn by both men and women during the medieval period, with the difference that the men’s was higher and usually tied to the belt/to the waist in some kind, and as the fashion developed became higher until joined to a pair of pants. Get it? A pair of hose- a pair of high hose- a pair of joined hose- a pair of pants. (I have never understood the English saying of a pair of pants but this make so much sense!)
Anyway, the women’s hose was usually tied under or above the knee. Here’s a quick view of some, but there are lots of different models, colours and designs from the period. If you wish to reproduce a garment for a specific time and location, you’ll need some more research to choose what you need, this tutorial is more of a “here, let’s make a garment!”
I wanted to show you how you can make a pair yourself, using your body’s measures for drafting a pattern or constructing the fit directly onto yourself. Hose isn’t very difficult to make, not even to get a pair of closely fitted ones. It just takes some practice and patience to pin them on your body and adjust the fit until you are happy with it.
First, you need some wool fabric, preferably a twill with a nice stretch to it. Not too thin but neither fulled into a bulky cloth, a medium weight slightly fulled twill, or a regular tabby weave would do the trick. To calculate the amount you need you can either first make a mock-up/toile or you can take measure 1 + measure 3 (as shown below) and draw them as a square on the fabric. Add some extra material around. The most stretchy part of the fabric should go diagonal over the hose. I usually make mine from leftovers from other projects and fit smaller pieces together.
You can start with a ready-made pattern, or make your own. Either way, you will have to adjust the pattern to your body, by fitting your hose onto your body for the perfect fit. Each wool fabric you use may be different, so if you are making several pairs in different fabrics adjustments might be needed for each pair.
Also, note that I make my hose right and left-sided, you don’t have to do this but I find that the overall fitting is nicer when I mirror the pattern I have.
If you decide to make your own pattern from start rather than buying one readymade, I prefer to draw some straight lines on a piece of scrap fabric and then drape this directly to the body. Of course, a friend to help you is great but not necessary.
You can also create a pattern on a flat piece by measuring and draft lines.
Start with taking the measurements:
1. Length of hose.
2. Width just under the knee.
3. Width around the calf (thickest part of the leg).
4. Width around the ankle (thinnest part of the leg).
7. Measure around the heel like shown in the picture.
(5 + 6 will show up later)
To make a flat pattern, also take measurements between the numbers above. Take the measure along line 1; what is the measure between 2,3, 4 and 7? Then you can use this to draw up this starting pattern for your hose; draw line 1, and then horizontally draw the lines 2,3,4 and mark the placement for 7 with just a dot.
This is my ready-made hose pattern. Yours will have the straight lines now, but lacking the sole and the form of the foot as well as the triangular gore.
Make the sole by drawing your foot on a piece of scrap fabric/paper. Make sure you stand straight while doing this. Add 1 cm of seam allowance around. This is piece number 5, and you make it the same way for both methods.
Now you can either try drawing the upper foot part on the flat pattern or cut out what you have and continue draping the hose directly on your body. If you want to draft the shape, line 7 is the width you need to fit your heel inside the hose. Draw that in a curved line like shown in the picture above. Then loosely draft the form of the foot and add some space needed for fitting around your drafted pattern. Don’t make any gores or slits yet (number 6) do these while you are trying on your pattern instead.
The measure of line 7 is worth taking into consideration while trying on your hose. You may pin it perfectly close to your body, but if you have a thin ankle you might not get the hose off because that measurement (4) is smaller than that around your heel (7). Remember to check this measurement while drafting the pattern or when trying on the mock-up. The hose should just go on and off your foot.
Draping rather than drawing
I prefer the draping method and use it in my beginner’s workshops because I think it is effective and easy. If you would prefer to drape the whole pattern, just mark line 1 on scrap fabric and then pin it to your body (use stockings, leggings or shorts but nothing bulky like jeans). To use the fabric’s stretch, you should draw line 1 horizontally over a piece of tabby weave or along the edge on twill fabric. The stretch should go across the leg of the hose, not alongside line 1.
Step 1 of the draping method. A piece of scrap fabric pinned above the knee, hanging loose. Line 1 will go from the pinned point to the toes, straight down on the middle front of the leg.
Steg 2: Loosely pin the fabric to the leg, following the natural shape of the leg. Make sure you don’t pin in fabric folds. The pins (the future seam) should be at the backside of your leg, running straight down over your heel. When you have an approx fitting; cut away the excess fabric leaving only a 2 cm seam allowance. Stand with the leg straight, foot on the floor when fitting the fabric.
Or you could get a friend to pin you in, while you stand on a table…
Step 3: Pin the hose more closely to the body. Pin on the sole from toe to the middle of the foot. To make the fabric lie smoothly on the body, stretch it gently in the directions of the darts. Toward the toes, down the side of the foot, towards the heel. Above the ankle, you change the direction and smooth the fabric out upwards. Every little crease will not disappear yet.
Step 4: When the general fit is good, it is time for the heel and the slit with the gores (number 6). Cut this one while the hose is on the body, from where the heel meets the sole, straight up on each side of the foot. Cut a little at a time, and check how the fabric behaves.
Straighten out folds and creases by stretching the fabric and pinning it more fitted to the body. This step is a process, and your personal foot shape will decide how long you will have to cut before all fabric lies smoothly. When you are satisfied, pin the rest of the sole to the upper fabric, leaving the new slit open.
Step 5: Now you have the overall shape of your new hose. You can baste it together if you want, and try the fit by taking it on and of.
This step with cutting the slit and inserting gores I do on every pair of hose I make when trying out a new fabric quality. If I work with a piece of fabric I am used to, I still make the gores while fitting the hose on the body. Note; I don’t make two mock-ups for left+ right, I just have one and then I will mirror that when laying it out on the wool fabric to get a left and a right hose.
Step 6: I find it easiest to just pin or baste a piece of fabric (generally triangular) to the hose while wearing it, and then cut off excess fabric. Then I can use that as a pattern for the other gores (notice that inner and outer gores might be slightly different in shape, which is normal depending on the shape of your foot and how you work with the fabric).
Step 7: When I have come this far I am content with my pattern, and take it apart (removing basting or needles) I also cut it clean, add seam allowance and label it with size and date. I also like to add some notes on the pattern for remembering things or if I lend them to friends;
Sewing the hose from wool fabric
Draw your hose pattern on wool fabric, laying line 1 horizontal across the fabric if you have a tabby weave (making the most stretch across the width of the hose). Cut the hose out with 2 cm seam allowance, 1 cm around the sole. Baste your pieces together; leg first, then the sole to the foot from the toes and back to the heel. Try the hose on, make adjustments and cut out the slit + fit the side gores.
Then you can sew your hose with back stitches, and fold down the seam allowance with whipstitching, or sew it on the sewing machine if you prefer. The gores I set in last, on the inside with whipstitching. Fold the edge at the top, stitch it down, and add garters to hold the hose up.
Other designs on the medieval hose.
The pattern with slits and gores are one of several finds on hose designs. You can also adjust your hose pattern to another design with a sole and a separate part for the foot, and one part for the leg. This saves you a bit of fabric and is quite easy to make. On the photo above I have marked this design with a dotted line straight over the hose. The grey hose below is made with that pattern.
There is also variations with the gores as parts of the sole piece (shown above in the photo of a find), a hose with the foot and sole joined, and several examples of patching, mending, and seams for joining small scrap pieces when making hose.
You can also add a second sole made out of thin leather to be able to walk without medieval shoes on dry ground. Avoid adding a thick sole, that will only rip your hose and be uncomfortable.
Want to make this project on a sewing machine? Check out this guide and more at Crafty Hangouts.
This blog post contains a collaboration advertisement for sewing machine guides from Sewingland.
I thought I would share my best tips and tricks for making good apron dresses, since I have made a whole bunch of them by now, and probably most of the mistakes too. If this is your first try at an apron dress, check out my tutorials Easy apron Dress or Fitted apron dress first. At the end of my post, you’ll find a link to useful sewing machine guides if you would like to make your dress on a sewing machine.
Nr 1. Use enough fabric. I know it’s tempting to save on the fabric, but trust me. Too short and tight a dress will look like a modern dress. I use around 2 m *1,5 m to mine, and if you are larger/longer than me, you need a bit more.
Nr 2. Use a thin enough fabric. Save the sturdy, felted wool fabrics for a coat or a cape and chose a thin, rather loosely woven fabric. It should be comfortable and have a nice fall, try to drape it over a piece of furniture, like a table, and look how the folds drape.
Nr 3. Try it on while sewing with all your other layers of clothing, to make sure you will have enough room under the apron dress for a shift and a possible warmer dress if you think you will be needing that.
Nr 4. Don’t make the straps too long. I think it looks very strange when women are wearing their dresses in the middle of their bust, or even under their nipple area. Please don’t. When you fasten tortoise brooches, you can pin them through your strap, or make a knot at the end of a strap being a bit too long.
Nr 5. If you don’t have tortoise brooches to fasten your dress with, don’t use modern buttons or fastenings in the meantime. I have learned that apron dresses were not a thing without brooches, like the dress is an accessory to the jewellery and not the other way around. You don’t have to wear apron dresses for reenacting a viking woman, a simple long kirtle will do. So skip the apron dress if you don’t own the brooches, or sew the straps directly to the dress itself if you are momentary without them.
Nr 6. The thin fabric could be lined with a strip of linen or wool to protect the hem and support the top.
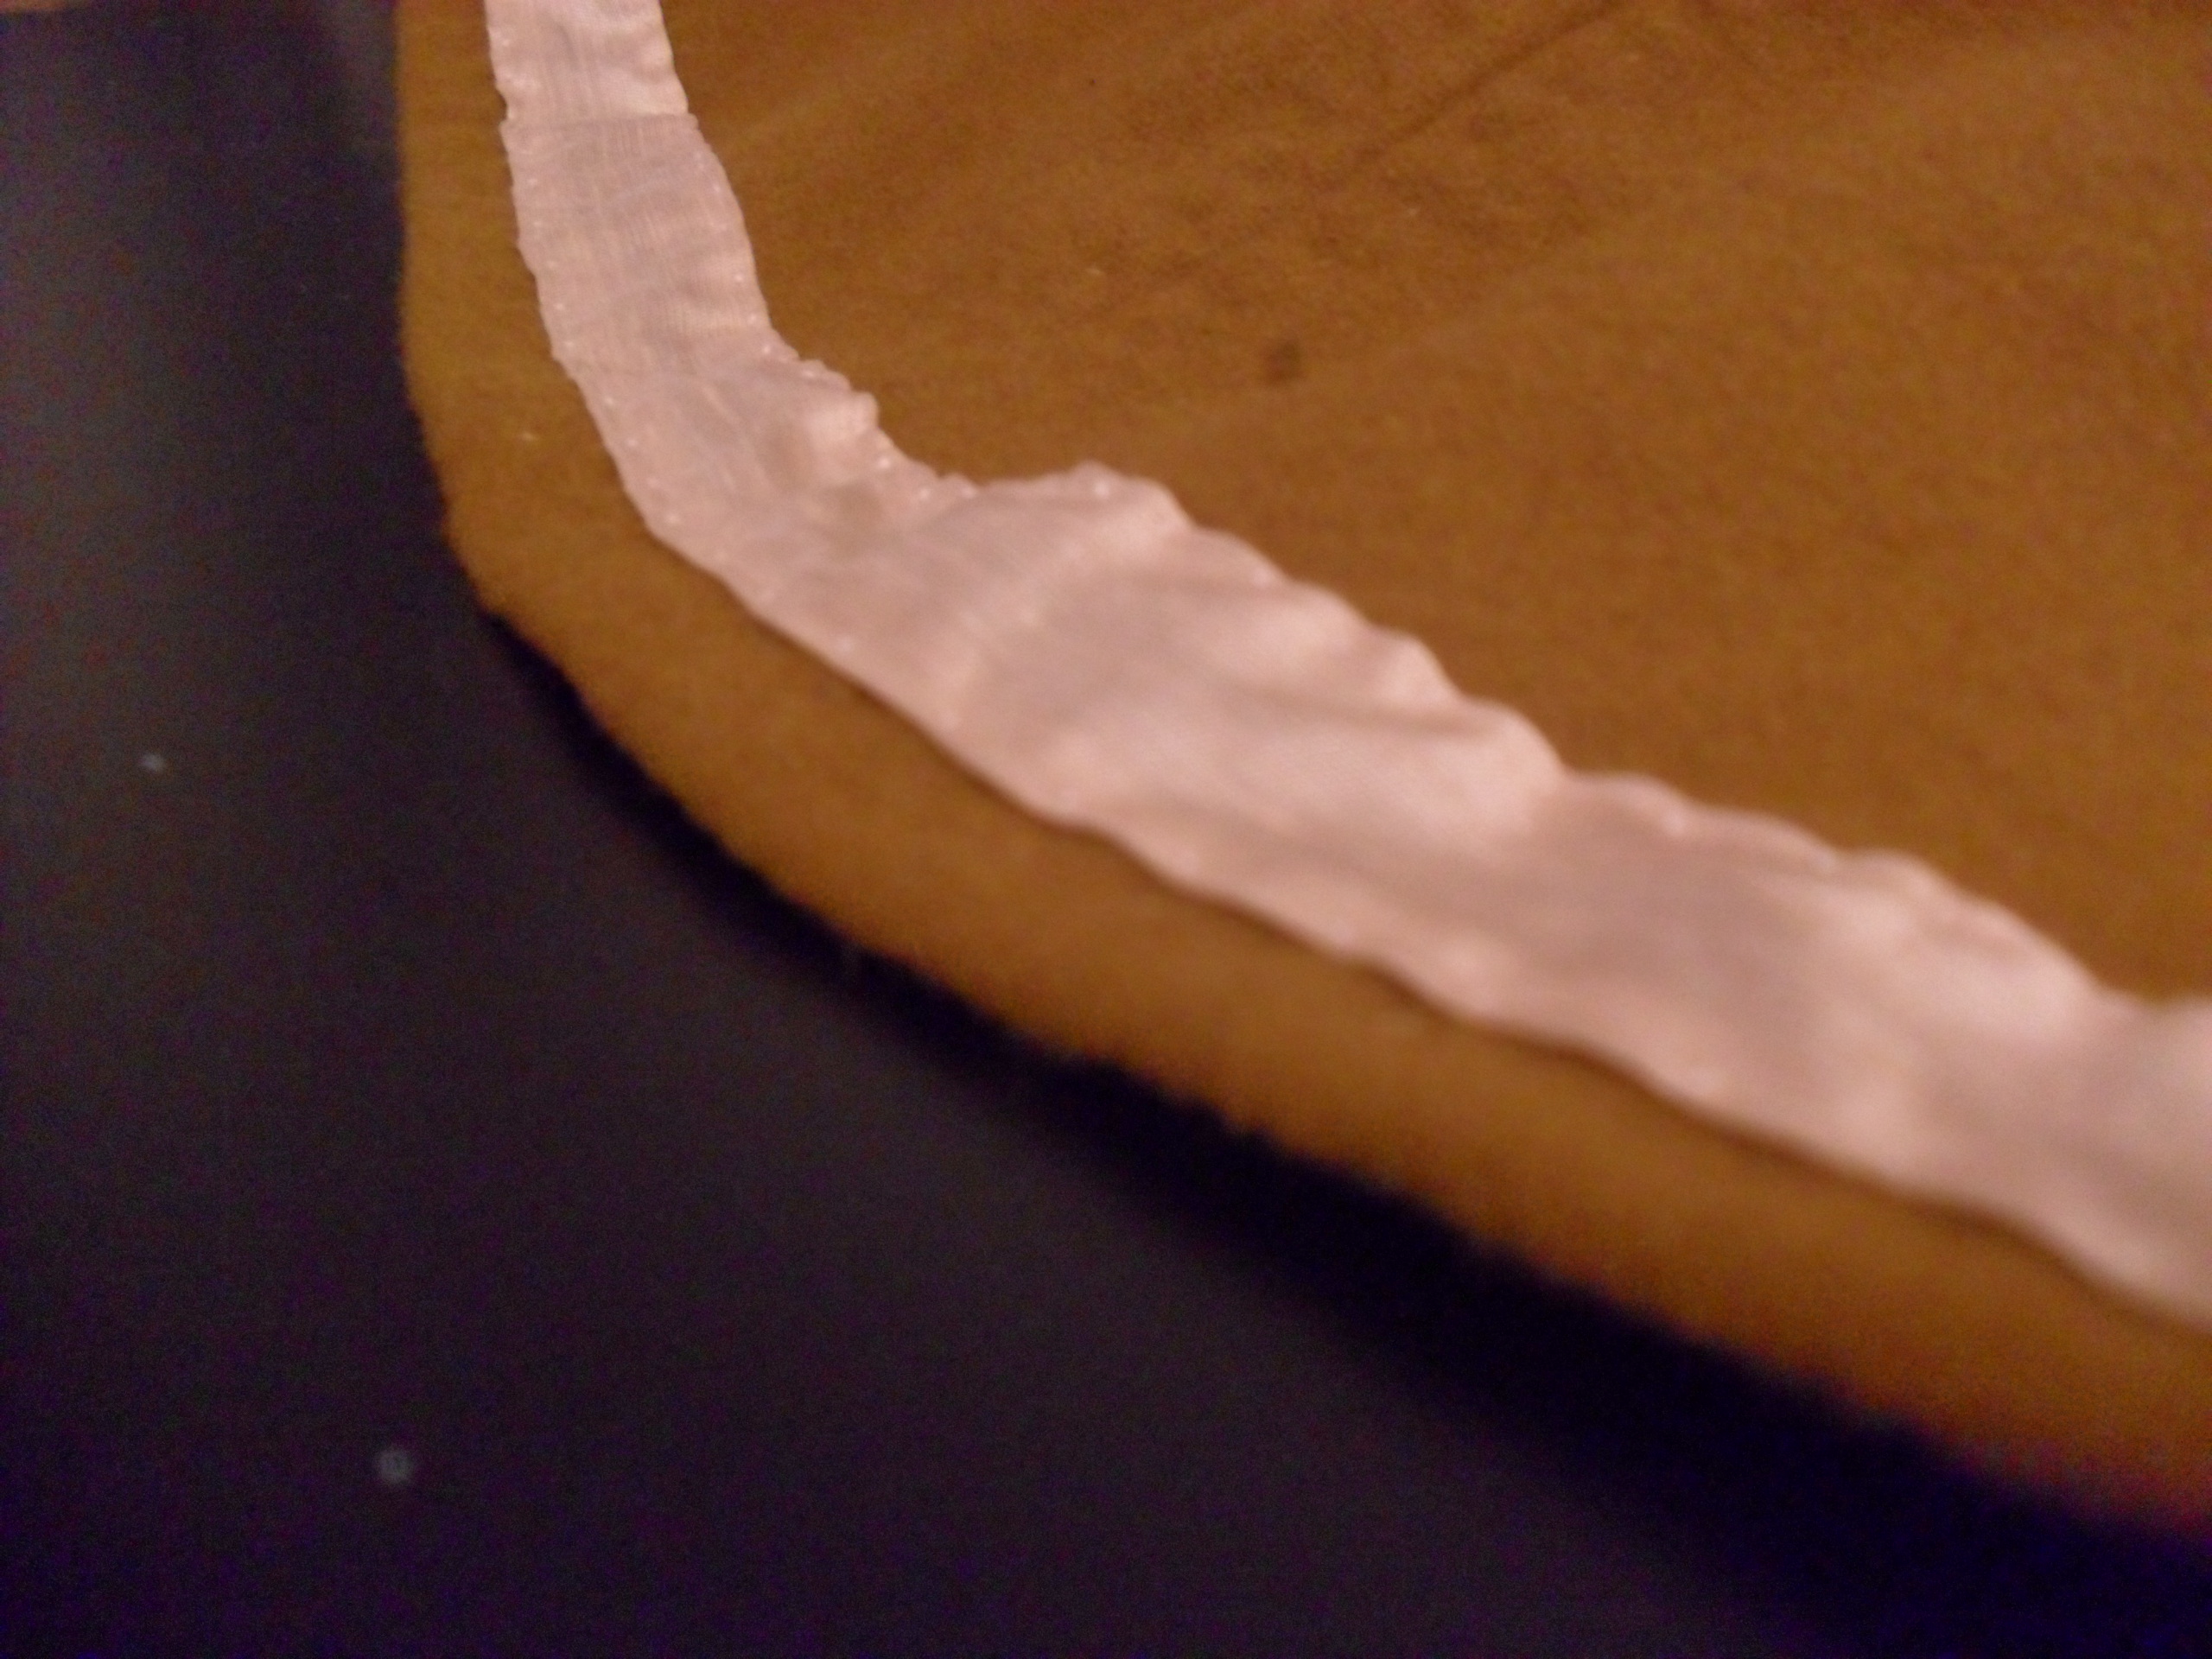
Nr 7. You may sew on a piece of tablet-woven band or a thin silk strip around the upper part of the dress, to make it durable, enhance the fitting and also, for decoration. Another way to decorate the dress is to sew a small wool braid to the top.
Nr 8. Decorating your dress doesn’t have to be expensive. Use thin strips of patterned silks, tablet woven bands, viking silver posaments, or just a braided cord. On the small figurines, it seems like there is decoration around the hem of the dress, and in grave finds there are remnants of silk and decorations around the upper part, partly inside the tortoise brooches. Save money and time and decorate only the upper part of the dress, or do the whole thing!
Nr 9. Use the same type of thread as the decoration you want to sew to your dress. Silk thread for silk fabrics, wool thread for woven bands, and a very thin and fine silk thread for posaments. This will give you a nice seam, that is as little visible as possible, and doesn’t damage the decorations.
Nr 10. To protect your dress from everyday stains; use a belt to fasten up your dress while working, this will protect the hem from mud, open fire and stains. Also, an apron is a very good choice for protecting your clothes. Or remove the apron dress and work in your shift or woollen dress. It seems the apron dress was a status symbol and finer wear, so it is probable that women didn’t wear them while labouring.