In this tutorial, a gore is a triangular-shaped piece of fabric sewn into the garment. A gusset is a square piece of fabric, sewn into the armpit to add movability and space, used on shifts and shirts to take a few examples.
How do they work?
A gore inserted in your sleeve will add space and freedom of movement. Depending on the placement of the gore in the sleeve, it will add space to different effects, like moving your arm up and forward or adjusting your sleeve to larger muscles in your arms.
Why do you want to use gores in sleeves?
Gores might have several reasons to be where they are:
To save fabric while cutting out your fabric pieces.
To add movability by cutting the gore on another grain than the rest of the sleeve.
To mend a broken sleeve or seam.
To enlargen a sleeve being to narrow.
Gores might be inserted while making your garment, but also afterwards if you feel a need to adjust the fit. This guide shows you how to put in a gore in a cut slit at the front of the sleeve, but you can also add gores to the seam on an S-shaped sleeve. The principle is the same; fitting the sleeve into the armhole and then adding as much gore as you need to make the sleeve ”whole”.
An example of how this method was used during the medieval period is the Moy Bog dress, which has a similar gore. Maybe an adjustment to add space to a new wearer that had more mass over arms and shoulders?
The easiest way to make well-fitted sleeve gores is to cut out a piece of fabric, pin/baste it on the inside of the assembled garment, and sew it in place. Here is a step to step guide on how I do:
14th-15th c short sleeved dress
This dress has a tight fit, and I decided on a small gore in the sleeve front to add a bit more flexibility and movement.
I started with inserting the sleeve in the armhole and then cutting up a slit in the front to make the sleeve fit all around (this means you will have to make a sleeve that has a slightly smaller measure than the armhole if you make a new dress.) When I am satisfied with the inserted sleeve and slit, I press the seam allowance to the inside and start with the pattern for the gore.
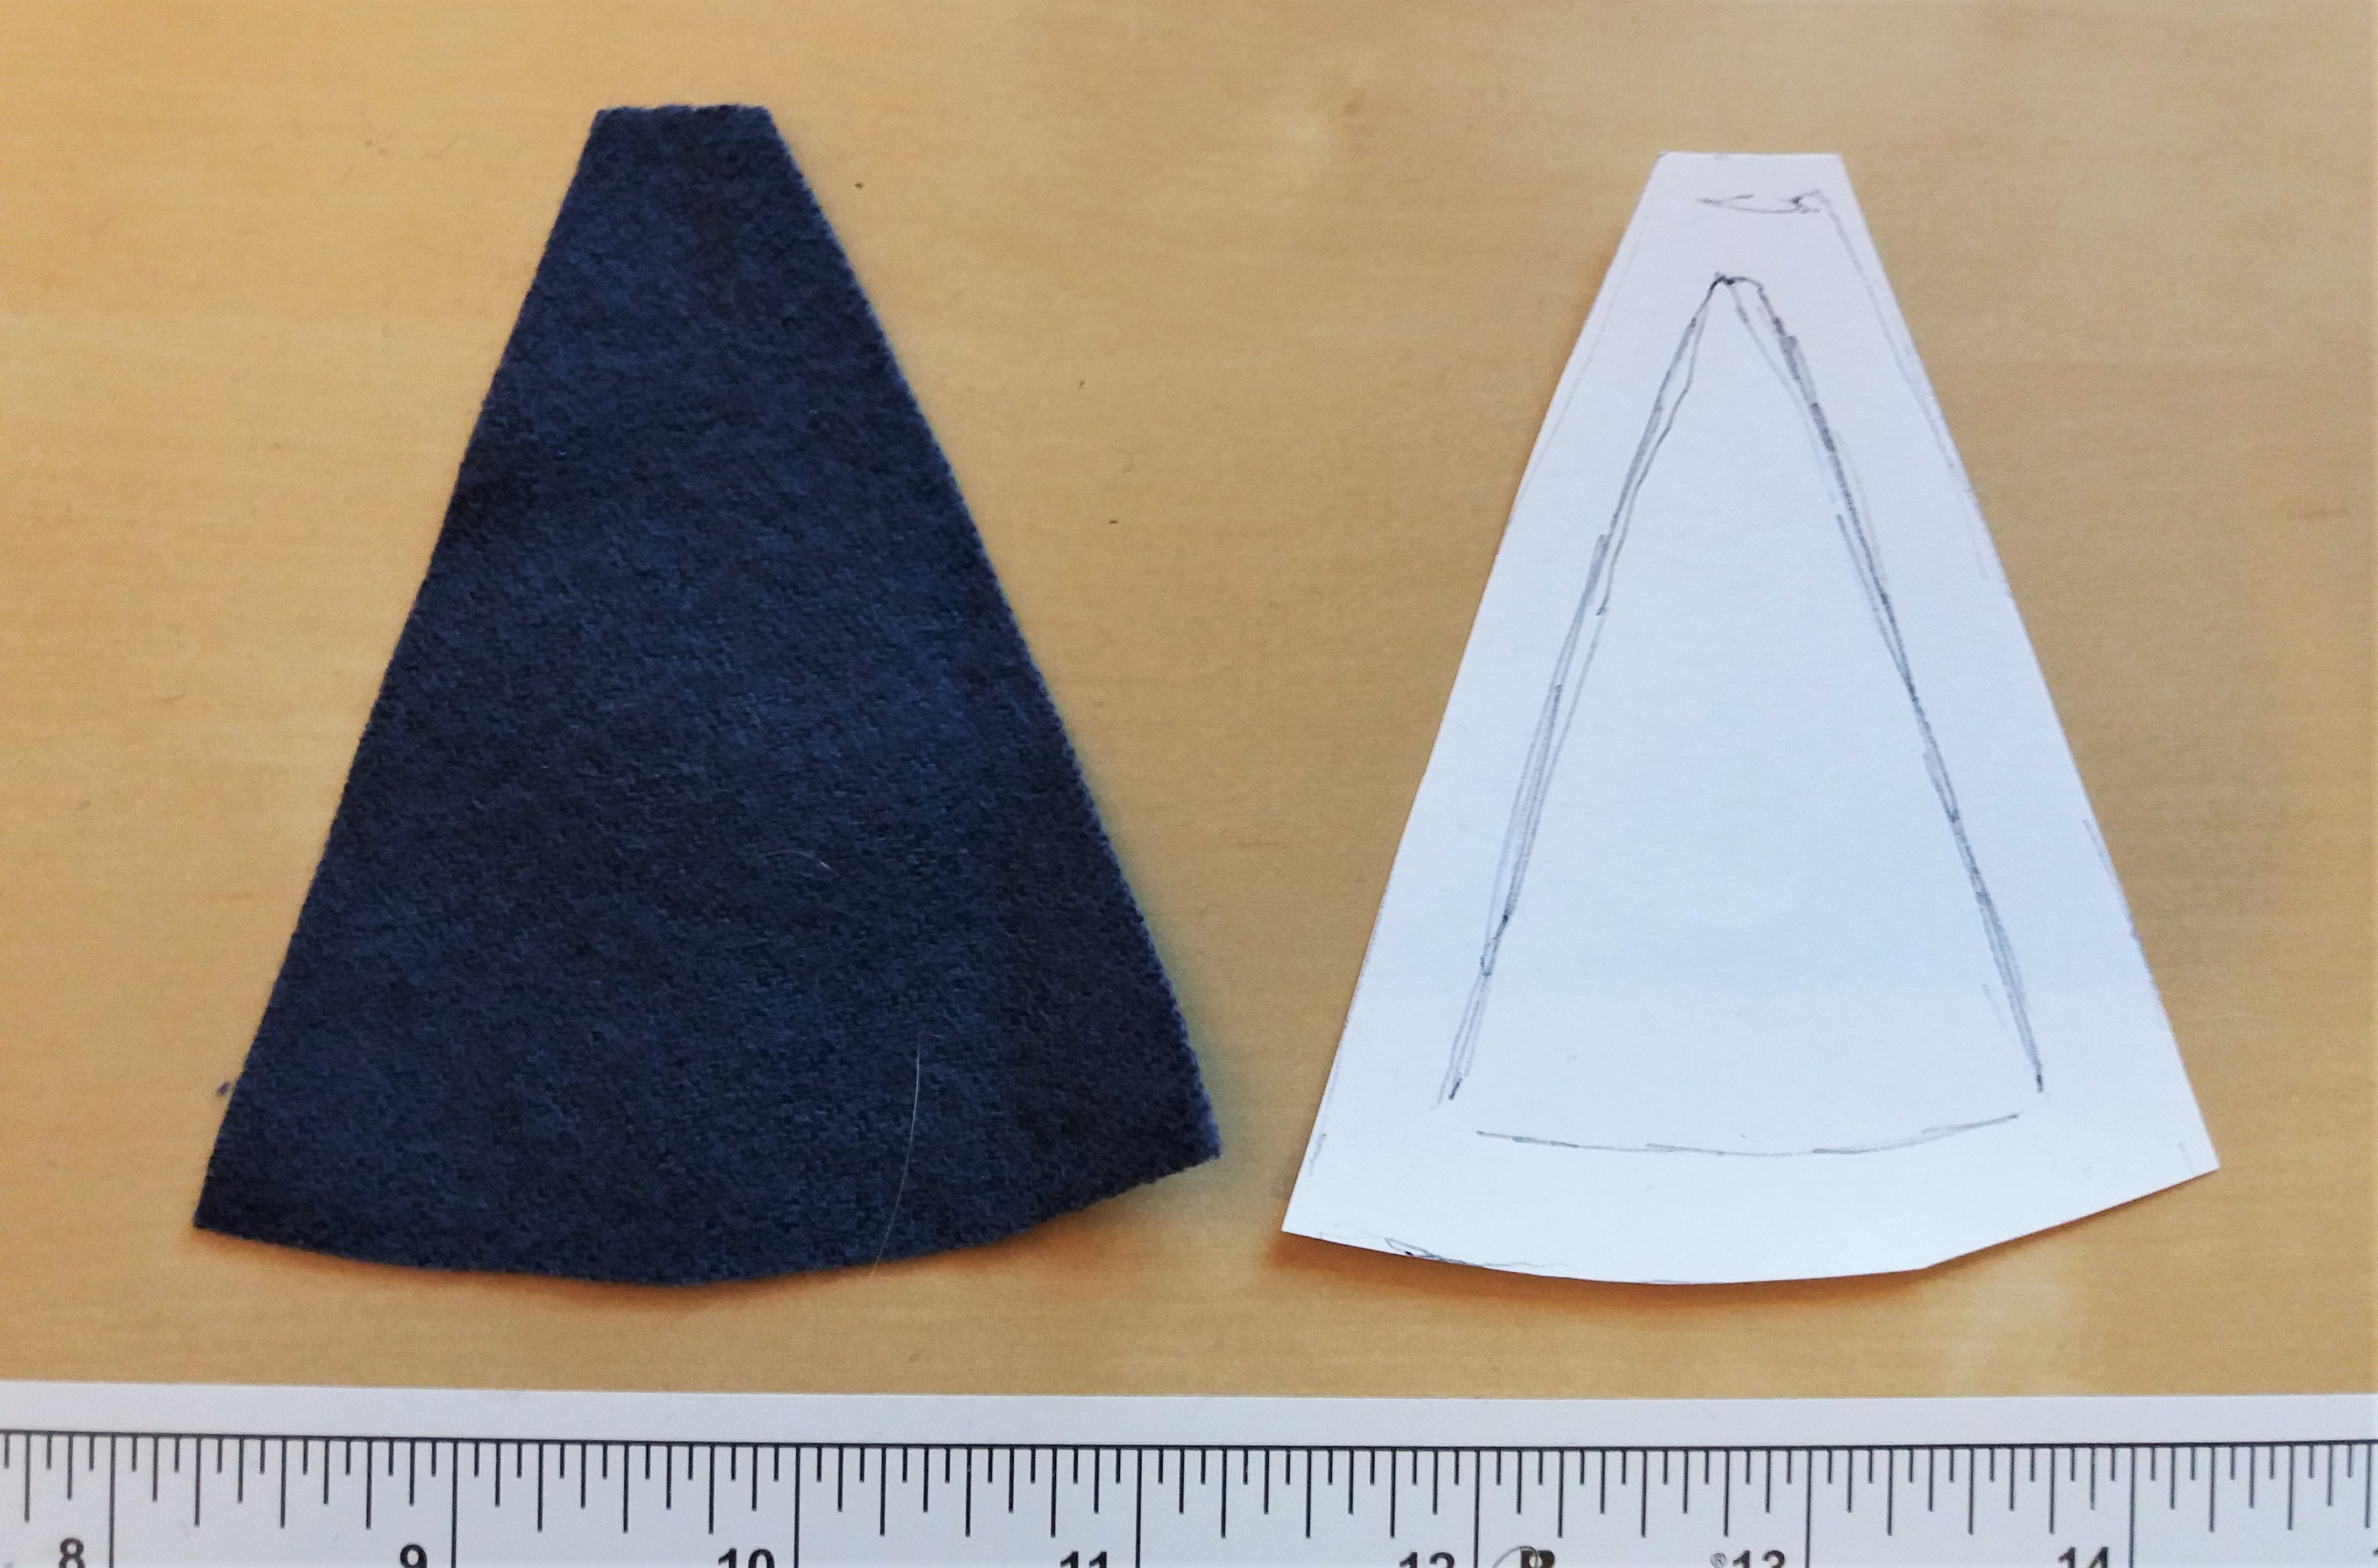
Put a piece of paper on the inside of the dress, and smooth the fabric on top of this. Draw a paper draft for the gore by tracing the ”hole” on your paper. Very easy!
Add seam allowance around the draft, and cut out.
Put the paper pattern onto fabric and draw + cut two gores, one for each sleeve. Remember to mirror the pattern and mark the gore with up/down and front/back.
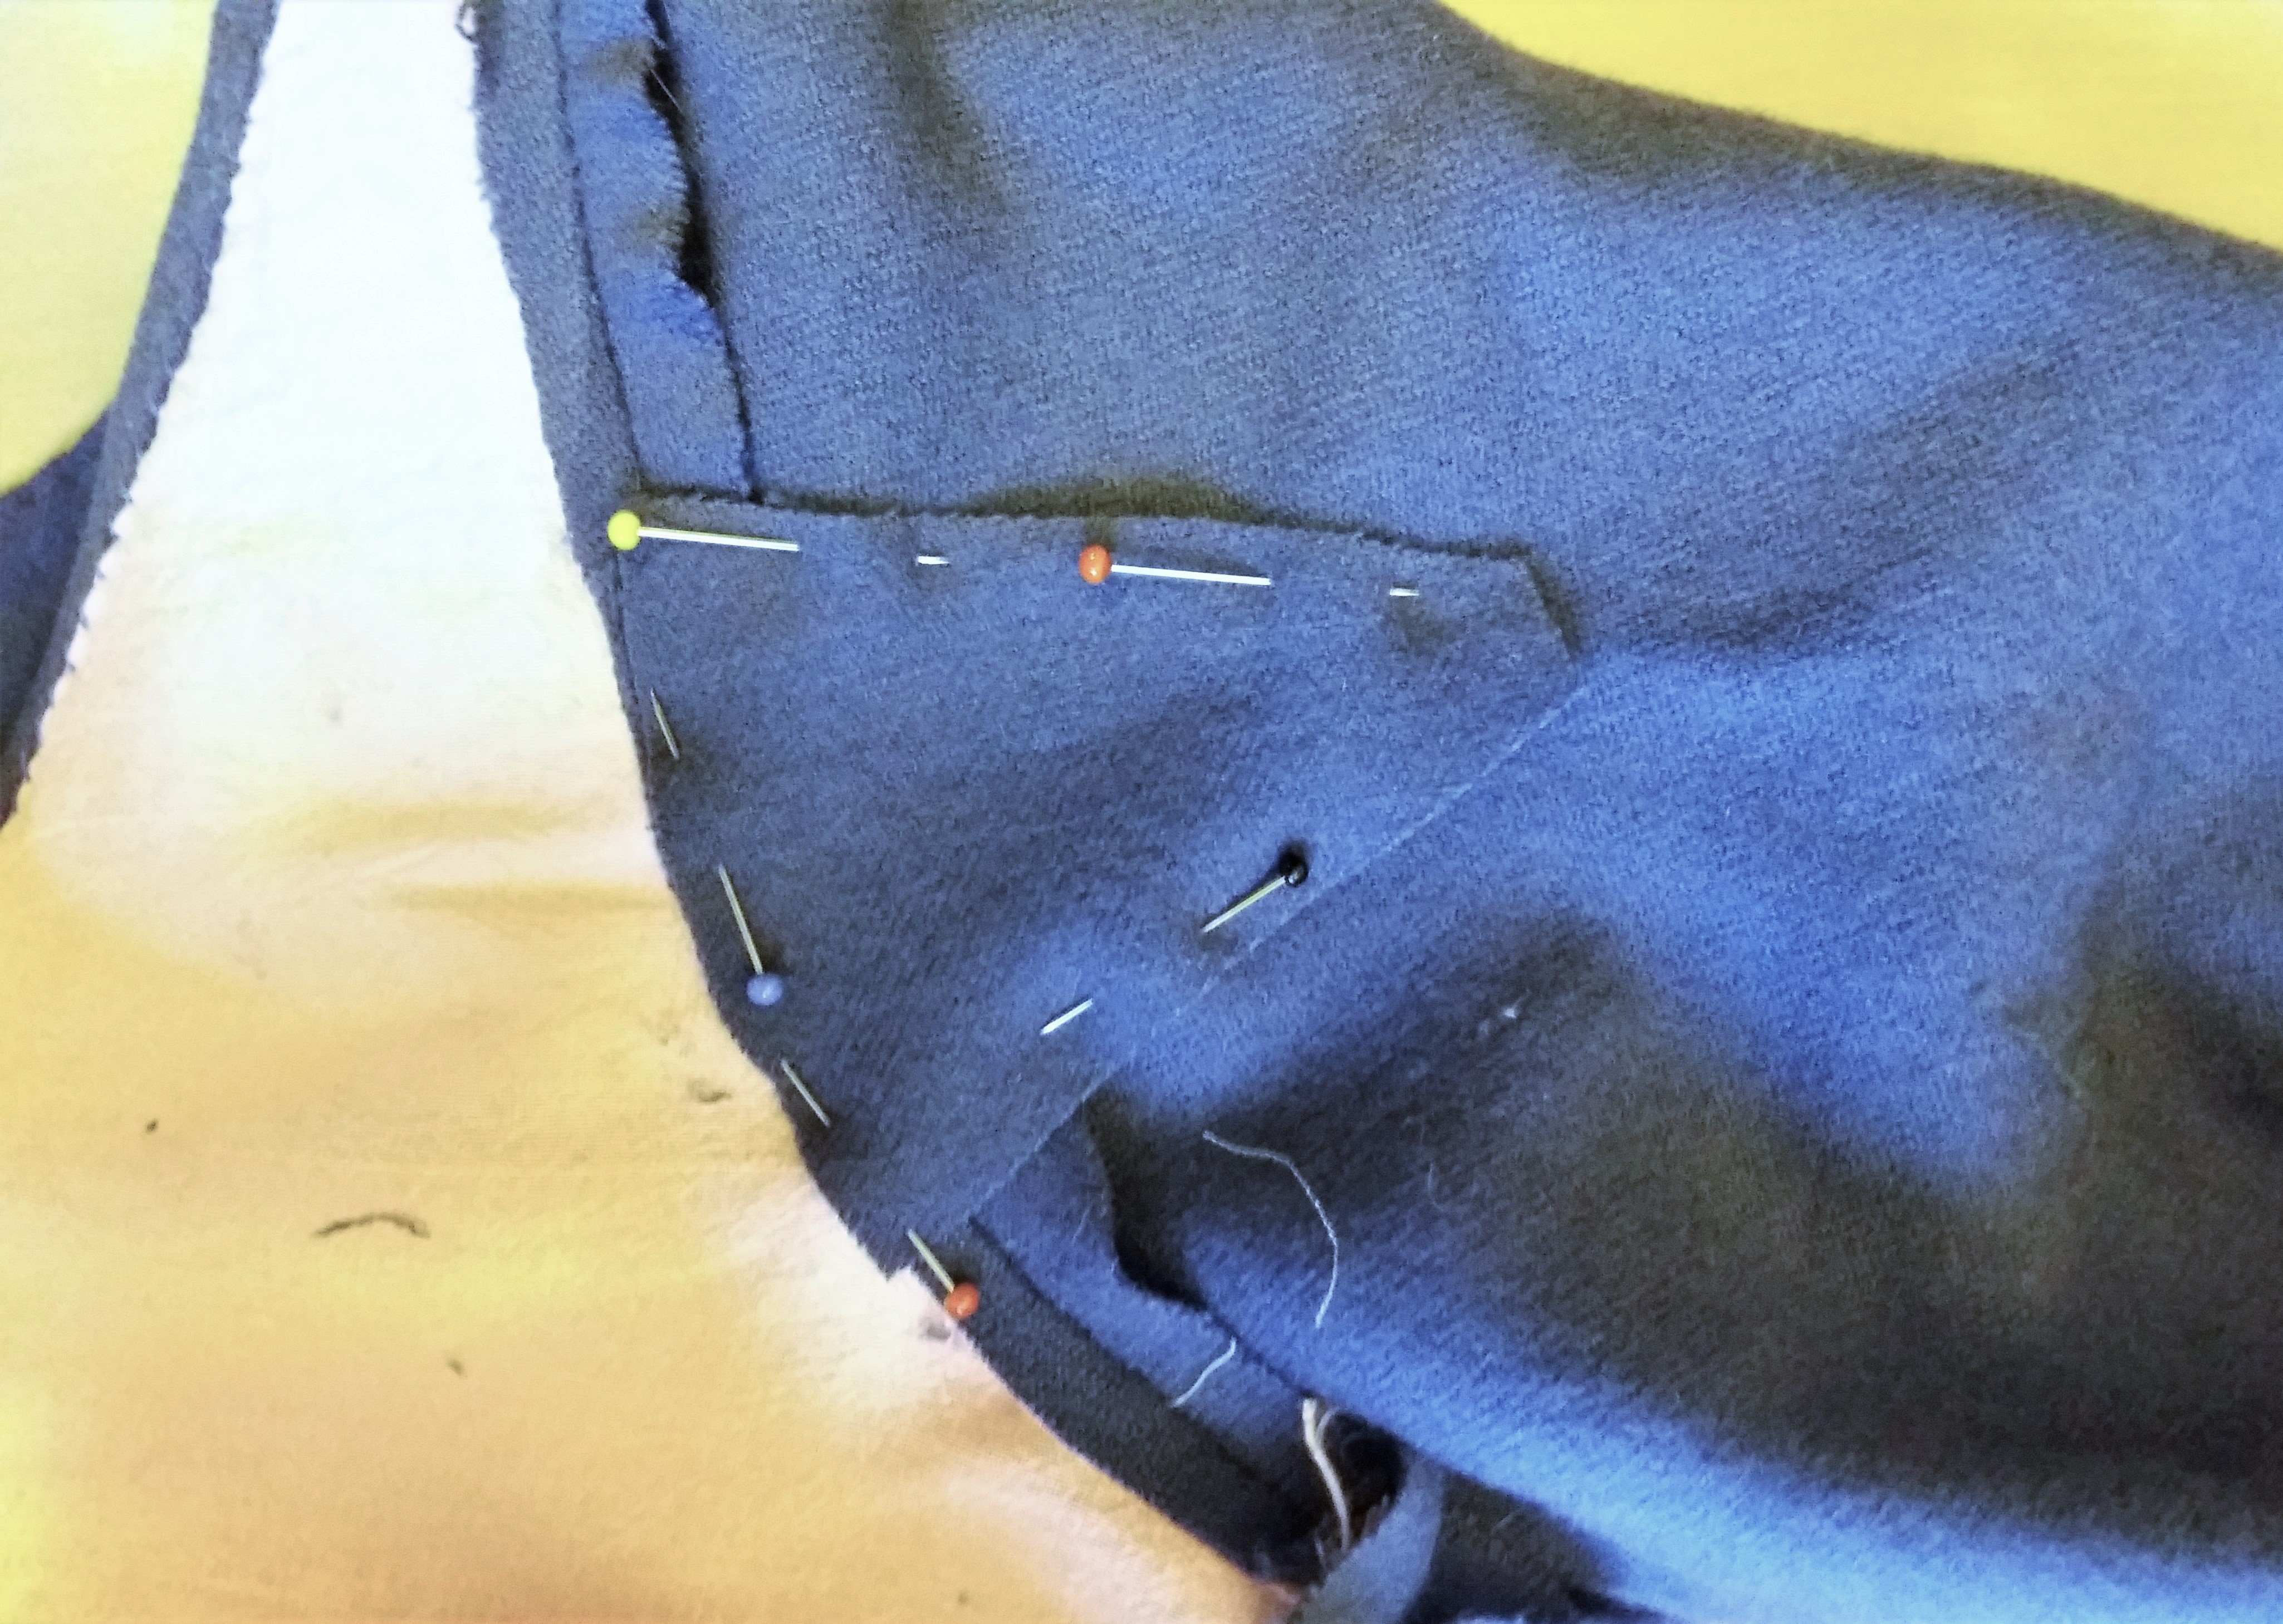
Fit the fabric gores into the sleeve slits, and pin in place (here I worked on the inside, but if you find it easier you can work from the outside of the garment).
This is what it looks like from the right side of the dress:
With pins in place, baste or sew the gore into your garment. Here I used small whip stitching, not bothering with basting. But if you are unsure or want to test the fit before sewing, basting is a great way to do that. Fastening the gore from the right side of the garment makes it easy to get a good result, since you can see the result while sewing.
When I have inserted the gore, the seam allowance is most often pressed to either side (down to the sleeve) and whip stitched down. I always press the s.a towards the bigger fabric piece. For example, sewing it down onto the sleeve and/or body piece. After that, it is all done!
The new blue gown also has a gore in the front of the sleeve, barely visible but great for movement!
This is my early 14th century outfit, hand-stitched and made with inspiration from medieval manuscript sources, like the Luttrell Psalter from early 14th c England.
I made the dress for my video project and wanted to put together a whole outfit that would fit in the same time period. It turned out super comfy, maybe I could wear it instead of my comfy pants indoors..?
I also made it so it would be usable in the viking outfit if I would be in need of a thin woollen dress/kirtle under the apron dress. Hence the looser sleeves, shorter length and not so wide neckline. It is certainly not the most fashionable 14th c outfit, rather an outfit for work, like in my market stall. (Uhum, much suitable, very nice thinking there…)
This dress will be featured in my online lecture about Medieval Dress (only in Swedish right now!) and as I know that many of you readers are Swedes or understand Swedish, I will post a link to the lecture here. For you non-Swedish speakers; I have not forgotten you, and will strive to translate interesting parts of the video to English and post it on a Youtube channel in the future.
Until then, here’s a list of the materials used in the outfit if you get interested in making your own.
What items do you need?
For my outfit in size small-medium, based on fabrics 150 cm width
Linen shift, 2 meters. Linen thread and beeswax for sewing.
Wool kirtle as the visible layer. 2,6-3 meters of wool fabric. Wool, linen or silk thread for sewing.
Birgitta cap + linen half circle veil. 60 cm thin linen. Thin linen thread and beeswax.
Linen apron. 100*80 cm of sturdy linen, linen thread and beeswax.
Wool hose/socks. Around 70*100 cm wool twill.
Leather turn shoes.
Garters in wool or silk for the hose. Fabric scraps, woven ribbons or braids can be used.
Purse, here in brick stitched silk with silk tassels and a silk tablet woven band. Made by my friend Jenny!
I promised you some insights into the Herjolfnes dresses with the many side gores, and here’s my take to understand the patterns!
(This guide is a “make it work for you” guide, if you want to make a dress as similar to the extant finds as possible, you might want to use the published materials mentioned below instead)
First, if you have “Medieval Garments Reconstructed”, it might be fun to try these patterns out. But remember that these are just general patterns, and they are not made for your body, nor your measurements. The risk is therefore that they will not fit very well, and you will be kept wondering what to do with this new and mysterious pattern.
Furthermore, the original clothing (and patterns) were made to a very different person, with a different lifestyle than yours, a body marked by another way of living, and the clothes were being worn and as the last thing, used instead of coffins for the dead last rest. Translating these clothing into patterns is important to understand the general pattern construction, but after this, I believe it to be more useful that the dress you finally make is going to fit you well.
To achieve this, I recommend you start with a personal pattern; a mock-up or toile. Once you have this one, you can then transform it into a pattern with as few or many side gores as you wish. To demonstrate this I made a model in paper for you. You can try out this method in regular paper first if you want, or go straight for patterning paper and 1:1 modelling.
Step 1: The shadowed picture is my toile/mock-up for my upper body. I have made a start pattern with the skirt attached to these (by the waistline) and two integrated gores; middle front and middle back. On my standard dress pattern my back piece is whole (no seam along the spine).
Step 2: I cut the front and back out, along with a side gore. This is the pattern for my red cotehardie.
Step 3: Time to go sideways! I mean side gores… I mean, just cut the pattern pieces apart like I did here. I place the cut where the armholes start to bend, or around 10 cm in from the sides. The bigger size you have, the bigger piece you will get.
Step 4: Cut the side gore in half, and tape each half to the new side pieces.
Step 5: To make it easier, I draw the new side pieces on a piece of paper, and add some width to the other “side” of the side gore; where it is straight. I don’t need a lot, between 30-40 cm on a full pattern.
Step 6: The front and back pieces also get added width at the bottom hem. It’s illustrated by the orange part in the picture. The width gets added to both front parts and back parts. This will give you pieces that have no straight vertical lines on the skirt but flared lines resulting in a lot of circumference around the hem (fancy!)
Step 7: Now I have a pattern with added side gores, 2 on each side. The gores at the front and back pieces have been added as a part of the pattern to simplify, but you could also piece everything together.
CF= centre front (where my lacing is on the green dress) and CB on this pattern means you will have a seam along the back since the gore is integrated. You could also keep the back piece whole, and insert a gore in the middle. I will show you how I do this in another post. (Also note that I show you a half dress in these photos; when you do your dress there will, of course, be another half of the dress too.)
Step 8: Want more side gores? Not a problem! Repeat the cutting-party, and cut each of the side gores in two. Here I have done it on the front side gore. I recommend marking your pieces with front, back, and arrows to show where they belong, and I also keep my waistline (dotted line). It can get confusing otherwise…
After this, you can add more width at the hemline to each of the new gores, drawing out more width from the straight side like shown above. You can also add A Lot More Width as shown below if you want to have a fancy dress with a great amount of fabric.
Step 9: Very important. After you have cut all your pieces and redrawn them, it is time to add the seam allowance. Add 1,5-2 cm of seam allowance around all pieces, either on paper or directly on the fabric. If your starting mock-up had seam allowance integrated, do not add more to those lines that you have not touched this time.
Step 10: Whoho, a new Herjolfnes based pattern has emerged! Cut it out in mock-up cotton fabric to try out the fit, or just do like I did and cut out all the pieces in wool, with a bit of extra seam allowance. Extra? Just to be able to baste the dress together and try out the fit + if you are satisfied with all the new side seams. I did not need the extra seam allowance, but I intend to use the photos to make even another tutorial on the subject of fitting a dress pattern.
Remember that the side seams are not “princess seams” which are put over the bust to give it a modern form. The Herjolfnes seams are more on the side of the bust and give you movement, a good drape and lots of hem.
I made the sleeves based on a regular S-sleeve pattern I already had, and for this construction method you should not need to adjust the sleeves much (if you have a working pattern), just check so the armhole doesn’t get too wide; measure your seam allowance when making the dress, and then insert the sleeves after sewing all the side gores and front + back panel together.
The finished dress in medium thick twill wool fabric. The dress is actually quite loose, and I cut the sleeves short, and the hem above the ground, to make it into a good working kirtle for historical markets.
The original Herjolfnes patterns don’t have lacing, but I decided to add that and take in the dress a bit to get a fit I am comfortable with. I also hate pulling a tight dress over my head as I always mess up my hairdo and cap, so the laced ones are my favourites. Once again, if you aim for a recreated pattern rather than an inspired one, you might leave the dress a bit looser and skip the lacing.
Useful notes:
Remember to add seam allowance to your new pieces, I like to add a bit extra (2-3 cm) in order to easier make adjustments during the fitting.
When you have achieved your new pattern in mock-up fabric (or cut it out in your wool fabric) baste all the side pieces together to try out the fit. The many side gores will adjust the weight and fall of the fabric and there might be more stretching that needs to be addressed.
You also have a lot of seams now where you can make adjustments to make the dress fit perfectly to your body. If you need to take it in; don’t take in all the extra width in just one seam, but spread it out between the seams.
Also; remember to wear your medieval supportive garment or modern bra of choice when fitting the dress so the dress will fit the bust nicely.
Sources:
Woven into the earth, Else Ostergaard, 2004
Medieval garments reconstructed, Ostergaard mm, 2011
Some time ago I made a medieval bathing dress in unbleached linen, and I wanted to share it with you. It is a simple project, perfect for an evening or if you want to practice hand sewing. There are plenty of bathing dresses in paintings from the late 14th to 16th century in Europe, they can also be seen in different cuts and models, and some are clearly supportive shifts that you could wear under your medieval clothing. Mine is very simple but with an intake under the bust to allow some support, but still being easy to get in and out from. No lacing is acquired.
Left; Bohemian, Codices vindobonenses 2759-2764 in the Osterreichischen Nationalbibliothek, in Vienna, Austria. Right: The Bathhouse Attendant, Bible of Wenceslaus IV. 1389.
This find is from A History of Costume, Kohler and is dated 14th century and described as a lady’s chemise or undergarment, the photo is old but you get the general idea.
Most of the pictures I have found seems to be dated to the late 14th to early 15th century, there are lots on the internet and I have a Pinterest folder on Medieval underwear so I won’t go into more historical sources today.
The cutting out; prewash your linen, fold in double in the length you would like, and then cut the A shape. I used the leftover fabric for gores in the sides (and at centre front + back if you like, it is optional) but this of course depends on your measures.
The first pictures show the general cut, the second the additional front and pack gores, the third the intake under the bust that give me the support. Do not take in too much, because then you won’t be able to get in and out of the dress.
About measures: The length of the dress measures from armpit to hem. The width is your measure around your bust divided in two (for front and back) add seam allowance but nothing more. Start the gores at your natural waist (if you are unsure, rather place them higher than lower) and pin the intake under your bust while wearing the dress with gores and side seams sewn/basted. Add shoulder straps last, mine is just double-folded linen cloth, whip stitched together and then fastened at the same position as I would have worn bra straps.
If you sew your dress by hand, use waxed linen thread and running stitches, and then fold the seam allowance to one side and whipstitch in place. This gives you a sturdy seam that is also quick to make. Hem the dress with running stitches or whip stitches, after your choice.
Making the dress in unbleached linen made it opaque even when it was wet, good for modesty. In artwork the dress seems to be white, may be visible nipples was a thing, or you would have to pick a very dense fabric. In some pictures, it is very clear that the fabric is transparent, but I chose the more sturdy and practical look. (update spring 2021: I have found that if you start with unbleached linen fabric, and sun bleach it yourself you will get an almost white fabric that is not as transparent as the modern bleached options in stores.)
The result? All considered, I am satisfied with the cut, sewing and look of the dress. It is also easy to swim in. Historically, being out in public in a bathing dress was not a thing, they can be seen on bathhouse attendants or in rare cases during the dressing/undressing at home or during dirty labour. Wearing it to the beach was certainly not a thing, but I liked to have a more historical dress instead of wearing a modern bikini when going for a swim at events.
I have been reading up on 15-16th century medieval Europe, including art and clothing, for some years now and haven’t really been into the 14th century for a while; I even sold of my Moy Bog gown and some other dresses. But then my friend J told me she wanted to brick stitch embroider a couple of purses, and I could have one in exchange for a minor handcraft effort (at least I thought so- I’m not really into embroidery…) and then I would need a fitting dress to that… And in almost no time I had this one finished, a hand-stitched cotehardie made of thin wool twill, with silk lining, silk lacing at the front and short sleeves.
The dress is for the higher classes, and in pictures from the late 14th century, it is worn with a kirtle underneath (a tight-fitting dress often with buttoned sleeves). Then it seems like the dress remains in the beginning of the 15th century, and is worn as a kirtle/middle dress with loose sleeves for a more fashionable look. After that, the dress seems to change a bit into the waist seam dresses (like my blue Weyden dress). This kind of dresses is very common in contemporary art and you can see them in different countries, with long or short sleeves, a laced front or a hidden side lacing, and with buttons or lacing at the sleeves.
If you would like to make a dress like this for yourself, search late 14th and early 15th art sources (I have some at my reading tips) or look at my Pinterest board about cotehardies.
Here are my best tips for making the dress fit nicely:
Fit the sleeves in carefully, they should be snug around the arm for both good movement and the right look.
Make the lacing holes 1,5-2 cm from each other, no more, to make sure the lacing will not show the shift underneath.
Use a lining inside the dress to make it more supportive for the bust, to add shape and draping to the skirt. If you have a tight fabric budget; just line the upper body.
Try the dress on often during your work with it, and make the lacing before hemming and neckline. Also, you may fit in the dress at the end for that perfect look by leaving the side seams open until last. These are also good to leave open (just back stitch them and secure the selvedges if necessary by zigzag or whip stitches) for adjusting shape, support or weight loss/gain in an easy and fast way.
In these photos, it is worn with loose silk brocade sleeves, but I’m planning on making a kirtle for it with long sleeves to wear under. On the head, I wear my hair in temple braids, and then a silk tablet woven hairband. The veil is pinned down to that, and then I have a woollen hood for warmth. The gloves are modern and just for warmth, it was really chilly to go out with just one dress.
This was the first event trying it out, and after that, I have been adjusting the dress a bit. Inside lining; the silk fabric getting snowy outside.
Hairband, pins and veil.
Historical accurate? The model is quite common for the late 14th and early 15th century, and the silhouette of the period is a rather straight and smooth one, which I have tried to achieve by making the dress a bit loosely fitted around the waist and hip area, in order to get the lean look of the time (I am built a bit too curvy for the 14th c ideal). The woollen twill fabric with its blue colour is representative for the periods upper class, blue is a common colour in women´s clothing during the medieval period, and the twill weave is fine and good looking. Dresses showed in period art often has a contrasting coloured lining, but it seems that this was most often in wool, linen or mixed fibre fabric, while silk blends seem to be more common during the 16th century. For a more historical dress, I would have lined the dress in very thin wool or made the whole dress out of silk. The pink, hand woven silk was chosen for its cheap price (1/3 of a wool fabric of the same weight), its look and the lightness of the fabric, making the dress comfortable and not hot at all.
We went to the SCA event Double Wars in southern Sweden (Skåne) and traveled from early snowy spring to full summer in a day. Magical event on a beautiful site, and a really large historical camping ground. The drive took about 15 hours, so we divided it in two days and made some small stops and side trips along the way, like visiting historical buildings and eating ice-cream.
I am working on photos from the event, so the following blog post will be about the event, site, camp and lots of inspirational photos for you- hope you enjoy it!
The new red dress, late 14th century, in red wool with pewter buttons and front lacing. Since the event took place in early May, a warmer dress like this was a good choice. Being photographed in the camp site
Out new tent from Tentorium; we are really satisfied with the quality and the rainproof fabric, it kept us dry and comfortable living during the week-long event. Took the photo one morning, getting dressed in the late 15th c green kirtle (I will come back to this outfit later in a separate blog post)
One day we went for a short stroll down to the lake, through magical green forests with woodgarlic and birdsong
Do you remember my green houppelande with rabbit fur? I sold it, and tried out a new model (how else to learn?) in a green high quality wool, lined with silk and trimmed with the same silk fabric, to imitate a painting I got inspired by. I call it the Weyden outfit; and I will write more about it when I got the time.
Love is feeling very well now, and was spending most of his time hanging around the archery, practicing or just having a good time. He is wearing a 14th century outfit, made of wool.
I also like archery, and discovered that most of my outfits was wearable for shooting and handling the bow. Even the fancy new red dress, with large veil was ok. What I didn’t like? My straw hat and the temple braids; they got in my way.
Here with love, practicing archery
Strolling around the camp groundsMarket day, love is jumping in to help some customers, while I had a snack and talked about clothing with friends.
Me and Aleydis by the lake, she was swimming in the cold water, while I was minding the sun…
Do you like what you see? SCA is a big organisation that is active in lots of European countries, USA, as well as other places around the world. Google SCA and your country or city to find out if you have a local group to join- SCA is friendly for beginners and there is lots of help and friends to have if you want to join in and journey with us to long-ago-times!
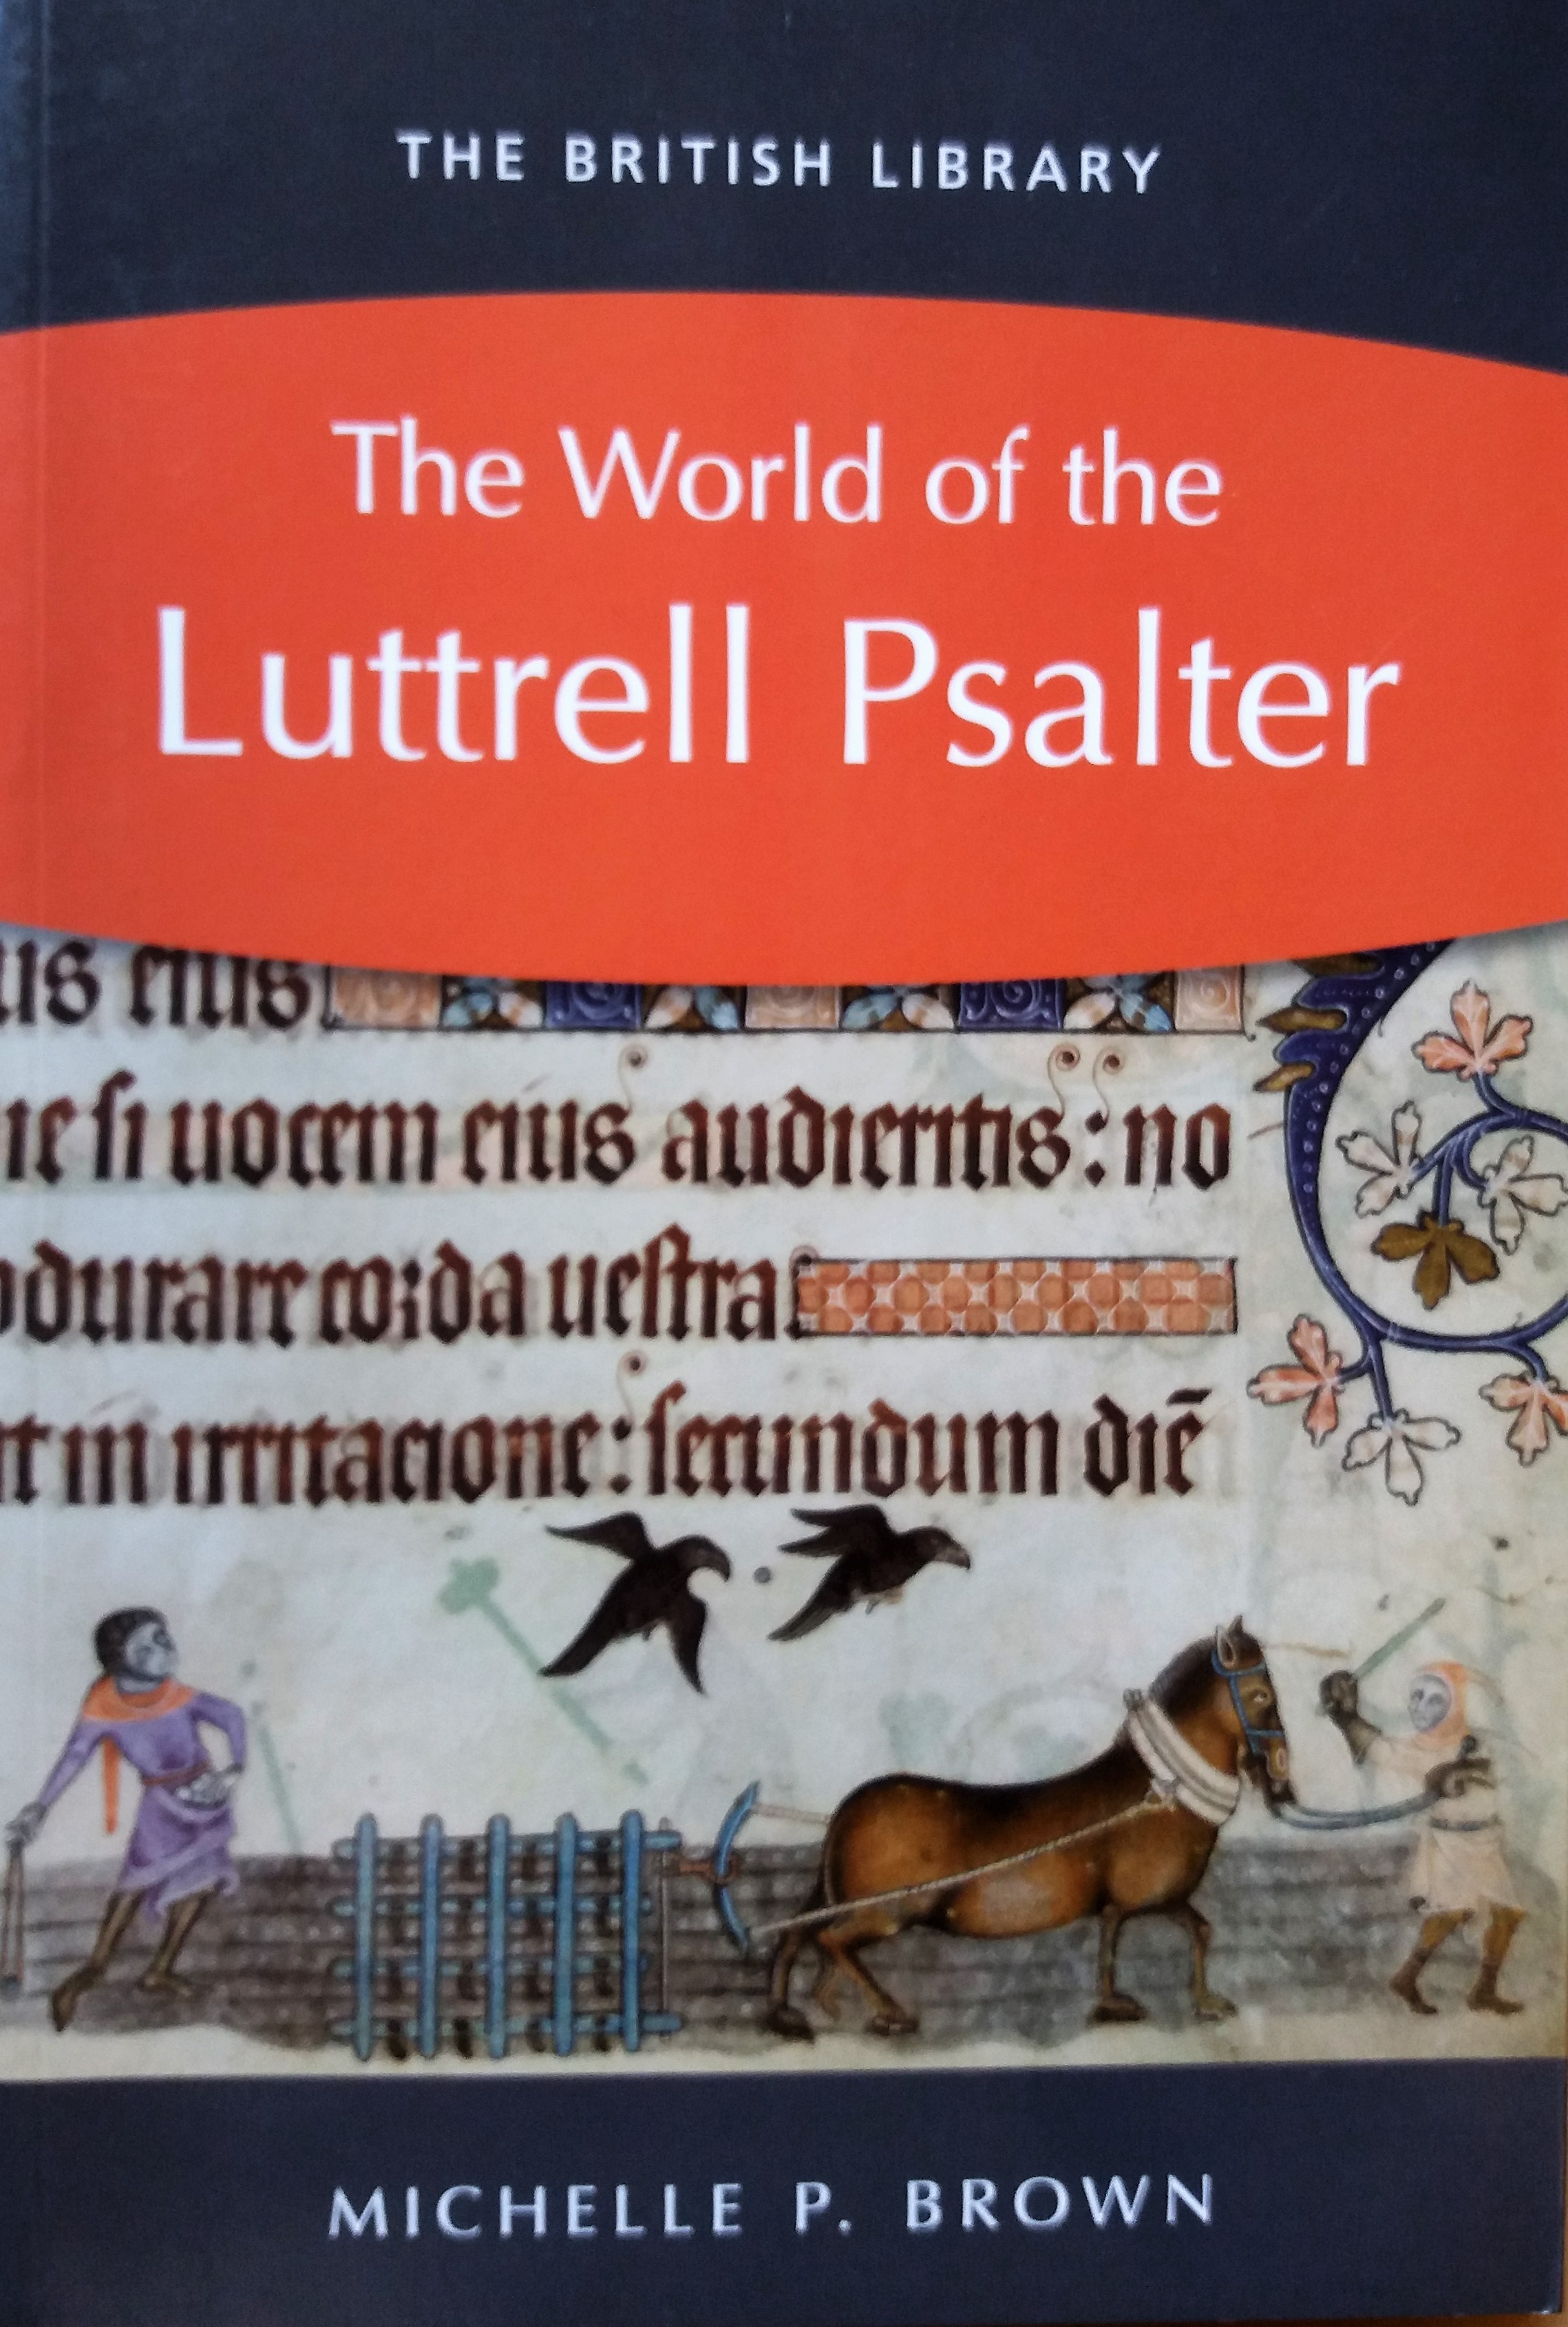
I purchased this book on a whim, and was happily surprised! It is a really good presentation of the Luttrell Psalter (from 1330) and richly illustrated with both religious and every day paintings inspired by 1330 England. If you have an interest in this period, likes illuminating manuscripts or just want another good book for your medieval library this is a must-read!
I really liked all the pictures of everyday chores and people in the book, me being somewhat of a nerd on period clothing (have you noticed…?) lots of detailed clothing, hair styles and accessories.


 There are plenty of bathing dresses in paintings from the late 14th to 16th century in Europe, they can also be seen in different cuts and models, and some are clearly supportive shifts that you could wear under your medieval clothing. Mine is very simple but with an intake under the bust to allow some support, but still being easy to get in and out from. No lacing is acquired.