This post is a collab with Korps and contains advertisement for fabrics
Want to own a really nice cloak? Who doesn’t? (yeah, it was a leading question)
Here is my guide to the perfect cloak; we are going to look at different styles, periods, how to wear it and how to choose the best fabric.
Sources:
Let’s start with some local finds, and the oldest one first: The Gerum cloak is dated to 360-100 BCE and is an oval cloak, worn folded over the shoulders. It is a great cloak woven in a patterned twill, and wearing it folded in the middle, it will look a bit like a semicircular cloak. Wearing a big cloak folded in half, is a good way to add warmth if you don’t have a thick fabric or a lining in your cloak.

Viking age cloaks can be seen on runestones, decorations, small figurines and are also mentioned in written sources. I usually call it cloak for a man’s outfit and shawl for a woman’s, but since they have the same function we will just call everything cloaks in this post.
If you fold a square piece of fabric into a triangle and wear it, it will look similar to some female figurines. Rectangular cloaks are another option, where figures are shown wearing an outer garment with corners. If you want to learn more about Viking age cloak theory; check out Viking clothing by Ewing, 2007.

The cloak from Leksand was found in a woman’s grave and is dated to the period 1100-1200. It was made from diamond twill wool, and most likely was a semicircular cloak with an opening at the front, it was also decorated with tablet woven bands at the opening (along the straight side).
The cloak worn by the Bocksten man was also semicircular with a cut hole for the neck, and a seam over one shoulder (the opening was not centered at the front) The cloak was made of several pieces of fabric, pieced together. (Kläderna och människan i medeltidens Sverige och Norge, Eva Andersson, 2006.)

The cloak that supposedly belonged to St Birgitta of Sweden was also made of several pieces of fabric, but this garment is believed to have been remade from a dress.
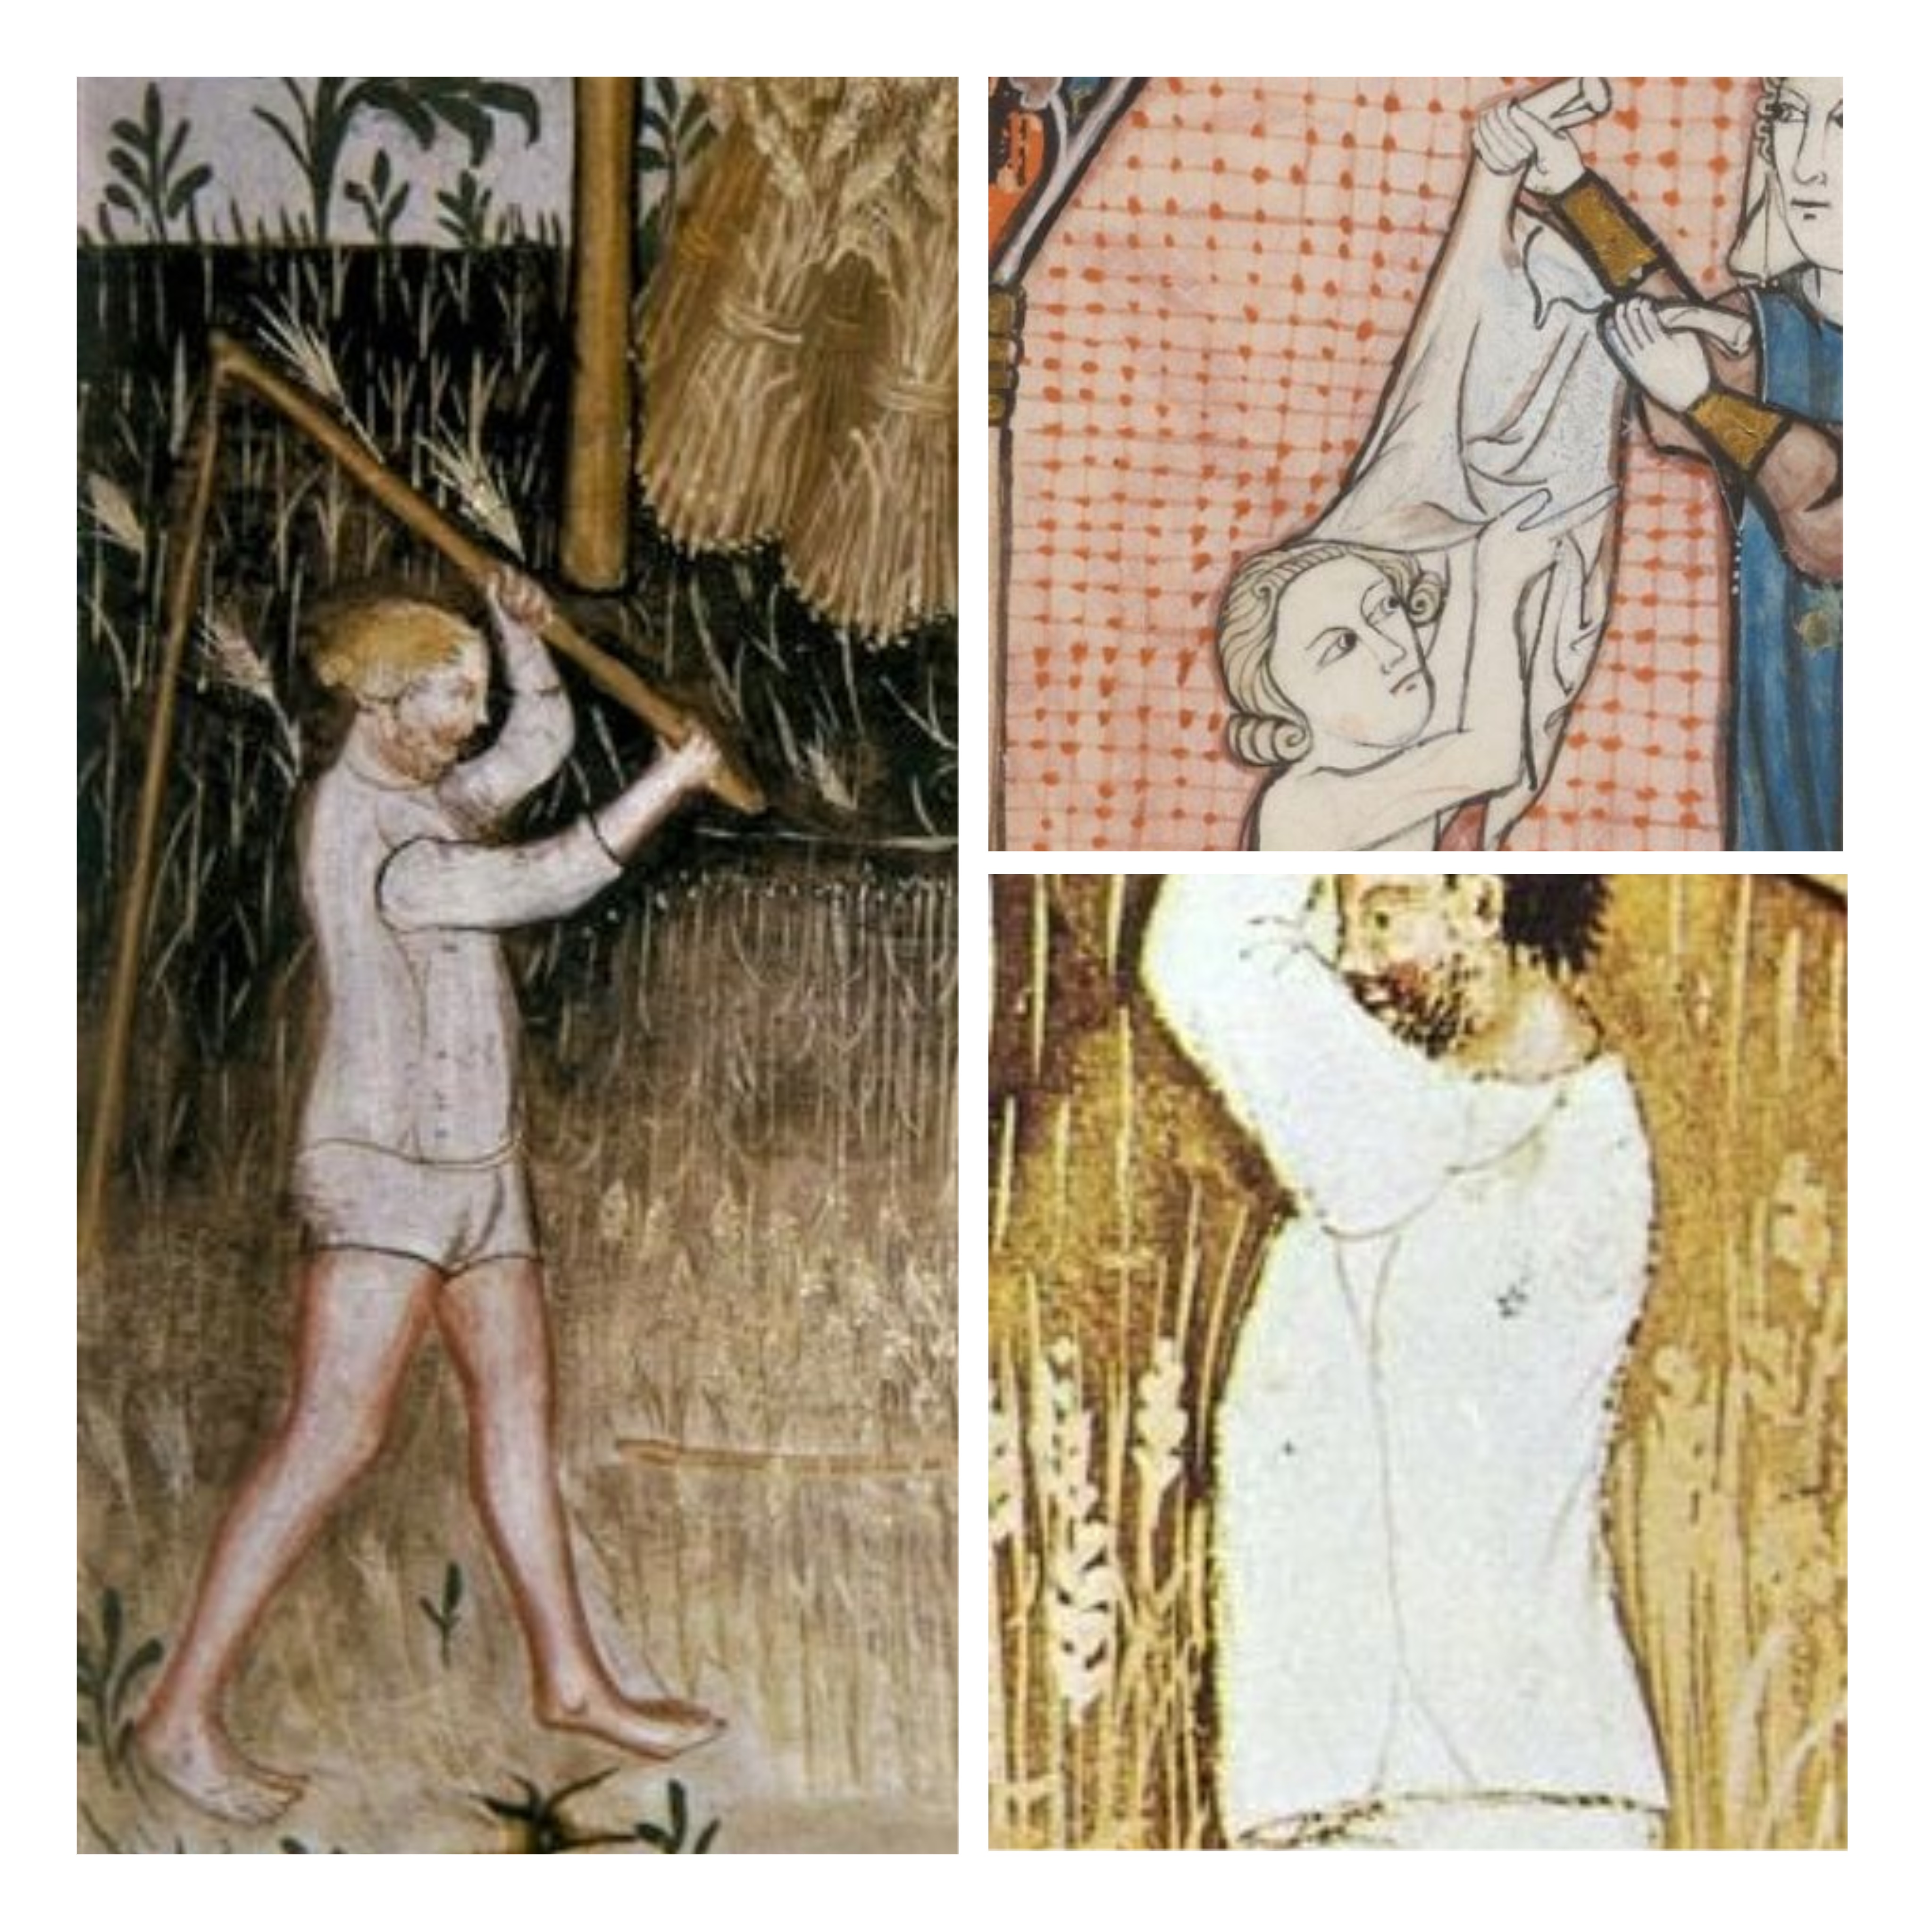
During the 13th century, you can see lots of cloaks in contemporary sources (such as the Morgan bible), as the cloak was an important part of the outfit. During the 14th century, there are some really pretty examples of statues with buttons down the front or over one shoulder, and in 15th c paintings, they are often artfully draped in biblical scenes, but not very common in everyday portraits.

16th century cloak patterns from Drei Schnittbucher shows examples of circular cloaks with a front opening, slits, collars and even sleeves sewn onto the cloak.


Interesting thoughts:
In written sources, cloaks go under many different names depending on the time, period, appearance and who the wearer is. There is also evidence of cloaks lined with fur or fabric, cloaks with slits or trains, and of different lenght. Clearly, the garment was both used in a religious context as well as an everyday travel item.
I have not found evidence of hoods or head covering sewn onto the cloak in any finds, and when a hood is shown in contemporary art it is commonly separate from the cloak, even though it might be in the same colour as the larger garment. So if you want to make an outfit close to historical sources, make a cloak and a separate hood that correspond with the fashion of the time. (Hoods on cloaks can be seen in 18th c fashion, but let’s leave that century to another time)
Cloaks may be fastened with a seam, pin, clasp, strings, ribbons, brooch, ring brooches or buttons. Choose your method based on which period you would like it to reflect. Cloaks are fairly common in period art sources, so if you browse through a bunch of paintings you might get the idea on what to choose.

The length of the cloak seems to vary with the wearer; a travelling cloak between the knee and below the calf on men, and a bit longer on women, with ceremonial cloaks trailing behind the wearer. But paintings and prints show evidence of shorter cloaks too, with everything from decorated court cloaks to simple peasant women cloaks. Pick the length that suits your need; too much length and fabric will only weigh you down if you want a practical garment.

And as always; piecing is very ok to make use of the fabric!
Different models of cloaks:
Oval cloak, square cloak, rectangular cloak, semicircular cloak (or 1/2 circle cloak), cloak with shoulder seams (or 3/4 circle cloak) and full circle cloak. The Viking age square cloak folded in half is not based on finds but more of an experiment, as is the shoulder seam cloak ( I included that in the picture though, so you may see what I am talking about). The latter I often use when I need to make a larger cloak than the semicircular one but don’t have fabric or historical evidence for a full circular cloak. The seams or piecing could as well be made on other parts of the cloak.

I have found no evidence for the cloak with vertical sections/seams to create a fit (which is popular when buying modern cloak patterns) instead, I would recommend you to choose a simple cut and then drape it on your body to your liking. Small shoulder seams or darts can be made as a more modern solution to make the cloak stay over your shoulders.
The cloak does not need to have an even hem, many examples are just draped over the body or longer back. If you want to make a full circular cloak more even by the hem, you may cut the neck hole nearer the front hem than the back hem (my full cloak is 70 cm at the front, and 80 cm long at the back). Putting the cloak on the body and adjusting the hem afterwards is another method.
Decorations:
Finds, paintings and statues indicate that embroidery, woven bands, silk or a combination of these were used to decorate the cloak, however, these examples are mainly seen on religious or high-status garments. For an everyday cloak, I would go with a sturdy, fulled fabric without decorations. If you want to decorate your cloak; try to find artwork from the period you want to recreate.
Fabric choises:
Wool, unlined or lined with wool or fur is both practical, and the most used material in cloaks during the medieval period. There are examples of velvet and silk cloaks, but only for ceremonial or high-status wearers. A sturdy, dense wool fabric that has been fulled would do well for a cloak, and beyond that, it is more a matter of when you need it (a lined winter cloak or a thinner, fashionable draped summer cloak?) There are examples of both twill and tabby woven cloaks, so again- to find the perfect cloak fabric for your period, status and adventure you would have to do some research for yourself.
Generally speaking, the right kind of fabric and the way you drape your cloak is more important than which model you choose, if you want to look dramatic. Buy enough fabric to give you the size of the cloak you need!
If you just want a good, affordable fabric right now; I include some links here to Korps.se that sells good thick woollen fabrics for cloaks. Very thick and warm fabric, or a softer and warm choice.
Colours:
The best colours for your cloak is: “yeah, it depends on..” you are starting to get this right? Period, area, status, wearer… like with all the other garments the medieval person would buy or make a garment according to what they could afford and what was available/allowed for them. Use artwork again; blues, reds and browns are seen often, and during the late medieval period dark hues and black seems to be popular. A commoner or person living in rural areas maybe had an undyed homemade cloak, while a fashionable burgher would wear something bought, dyed and cut to their taste. The cloak also differed between a garment of fashion and an everyday outer wear for bad weather; let this reflect the colour you choose.

Or, if you prefer, use this information to inspire you into making an awesome fantasy cloak for your next fantasy adventure!